In this article I will explain how to embed screen sharing in your website.
Adding Screen Sharing and Video chat is very useful to increase engagement, provide customer service, giving demos to prospective customers and many other use cases.
Thanks to todays technology, adding screen sharing to your website is just a matter of pasting a single line of code in your website or your WordPress or any other CMS provider.
If you are looking for a Virtual Event Chat solution then we have DeadSimpleChat
First, we Need to consider a service provider from which we can add screen sharing to our website.
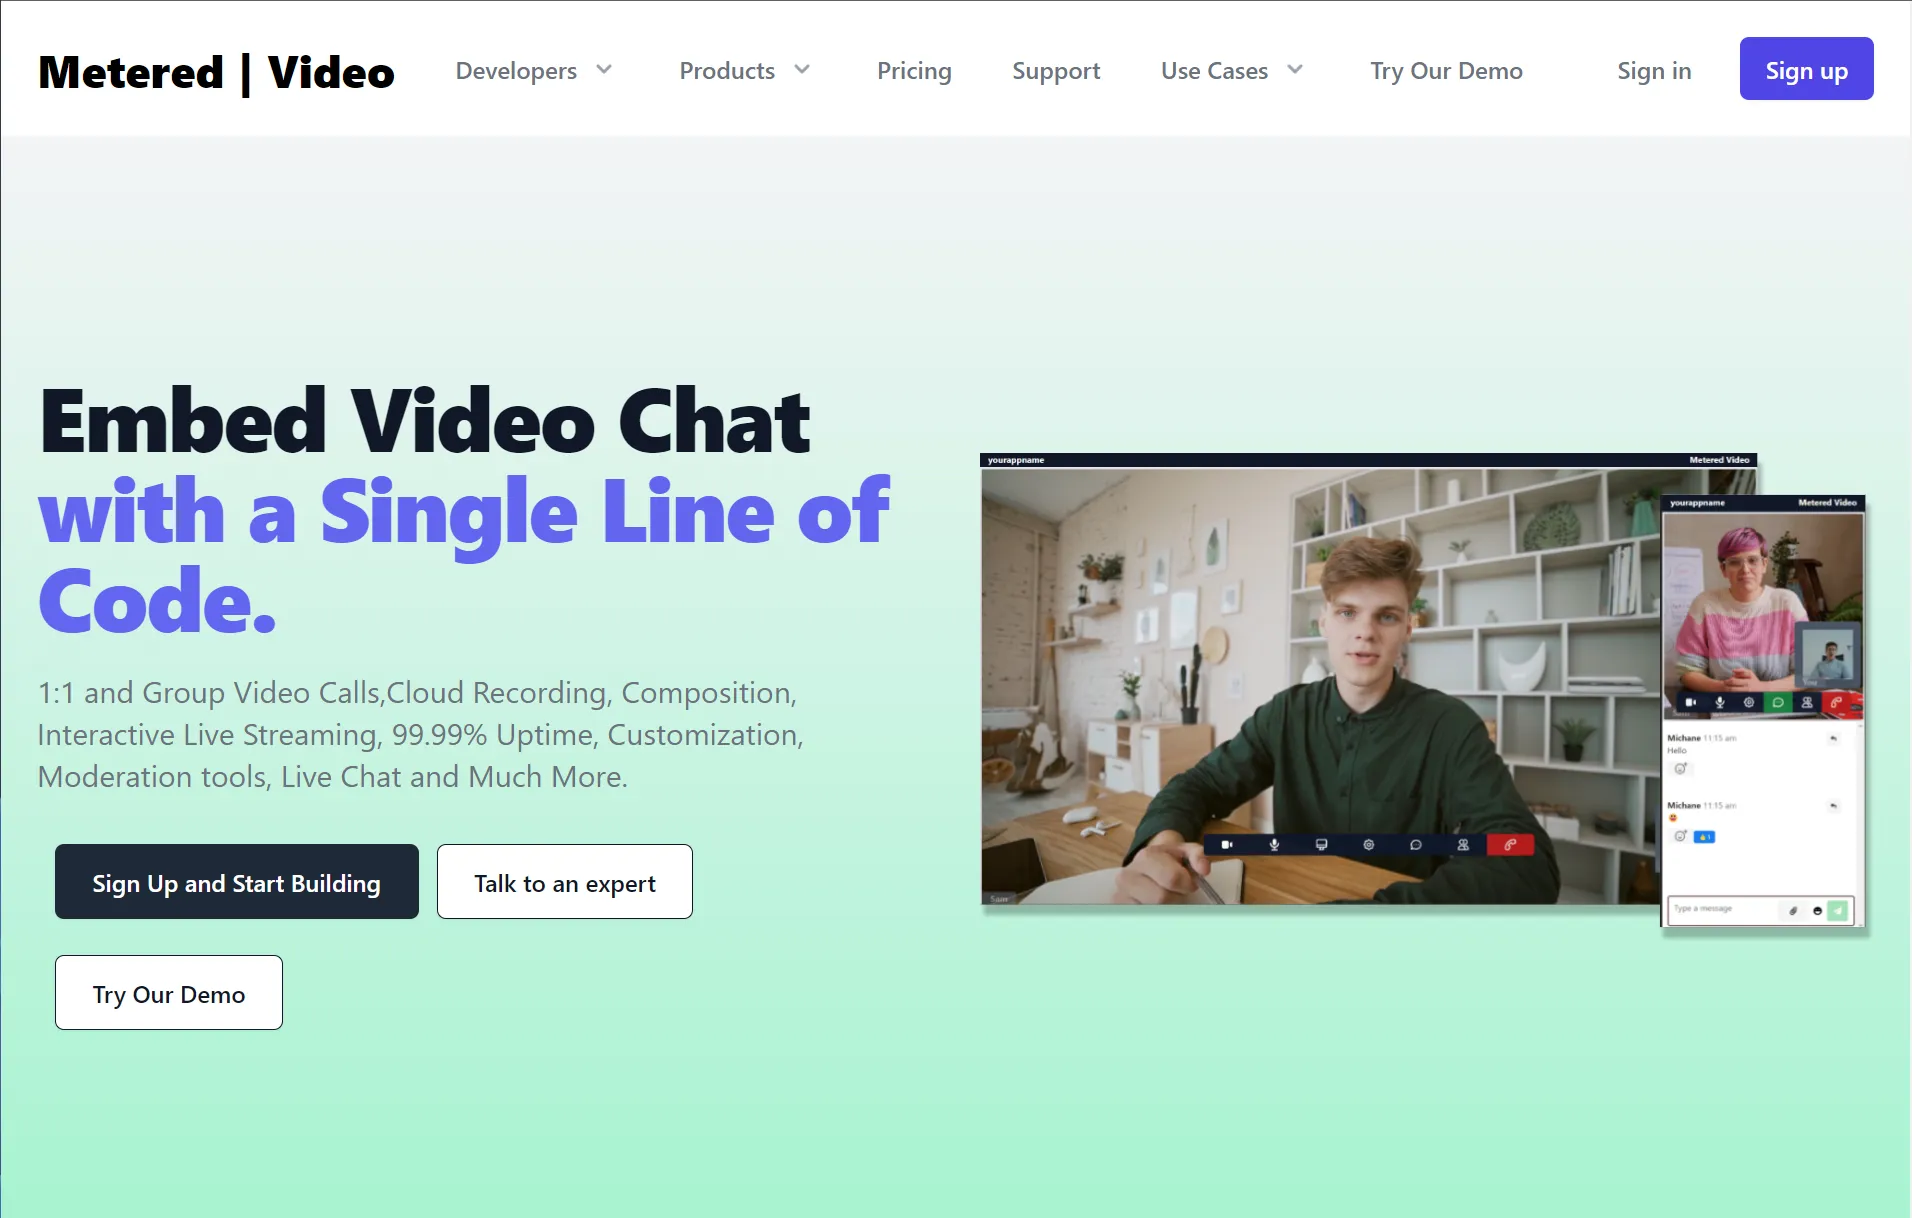
We prefer Metered Video. It has features like:
- 99.99% Uptime SLA
- Customize the look and feel of the meeting room to suit your brand
- Completely white label
- Cloud Recording
- Moderation
and many more you can discover all the features on our website.
Here are the Steps to add Screen Sharing to your website:
Step 1 : Create an Account
Go to the Metered Video website and create a free account by clicking the "Sign Up" button.
or you can also try the demo or speak to an expert about the video chat application.
Once you have created an account, you land up in the dashboard page.
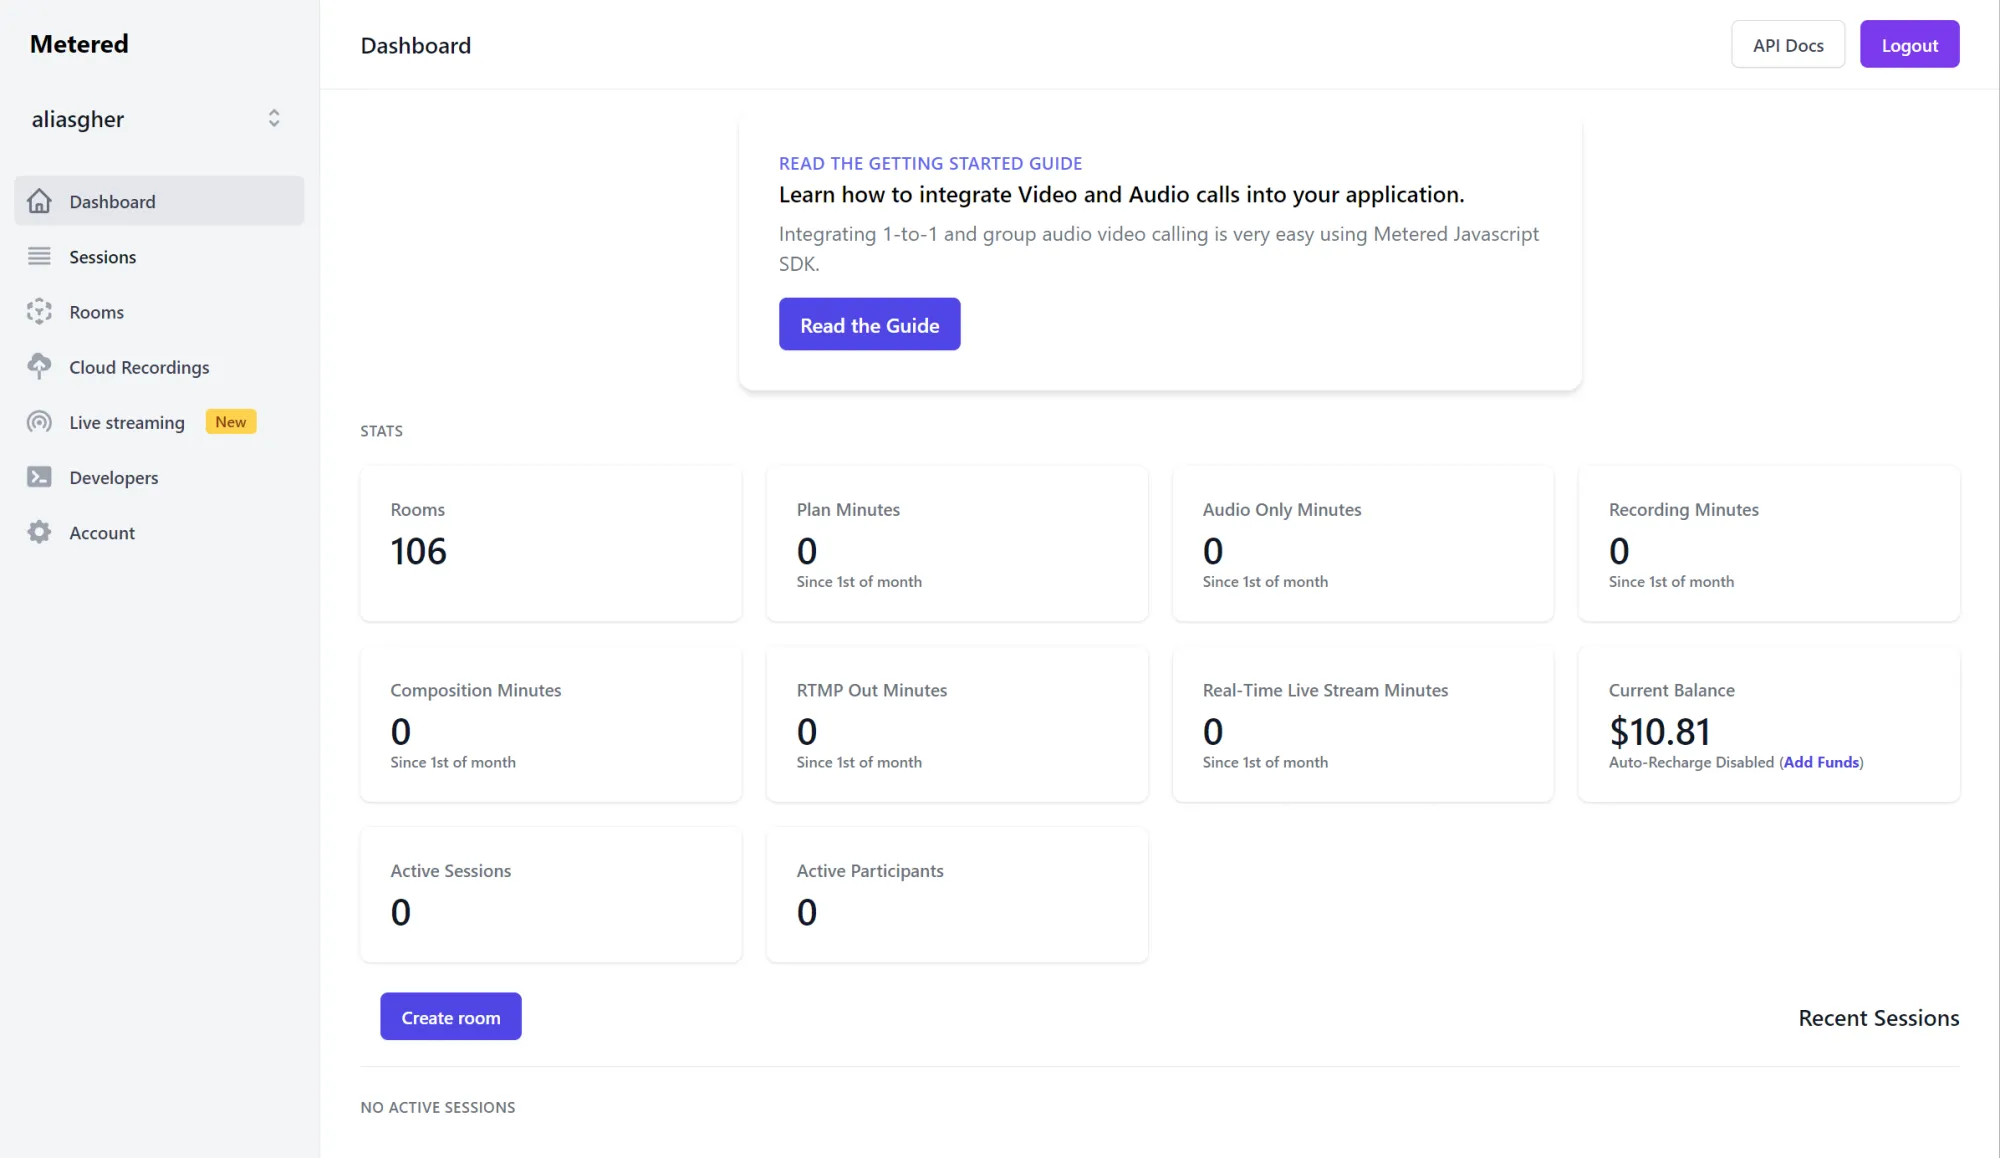
Here click on the create room button to create a video room. We will be adding the room to our website for screen sharing
Step 2: Create a Room
Click on the create room button in the dashboard to create a room. This will lead to the create room page
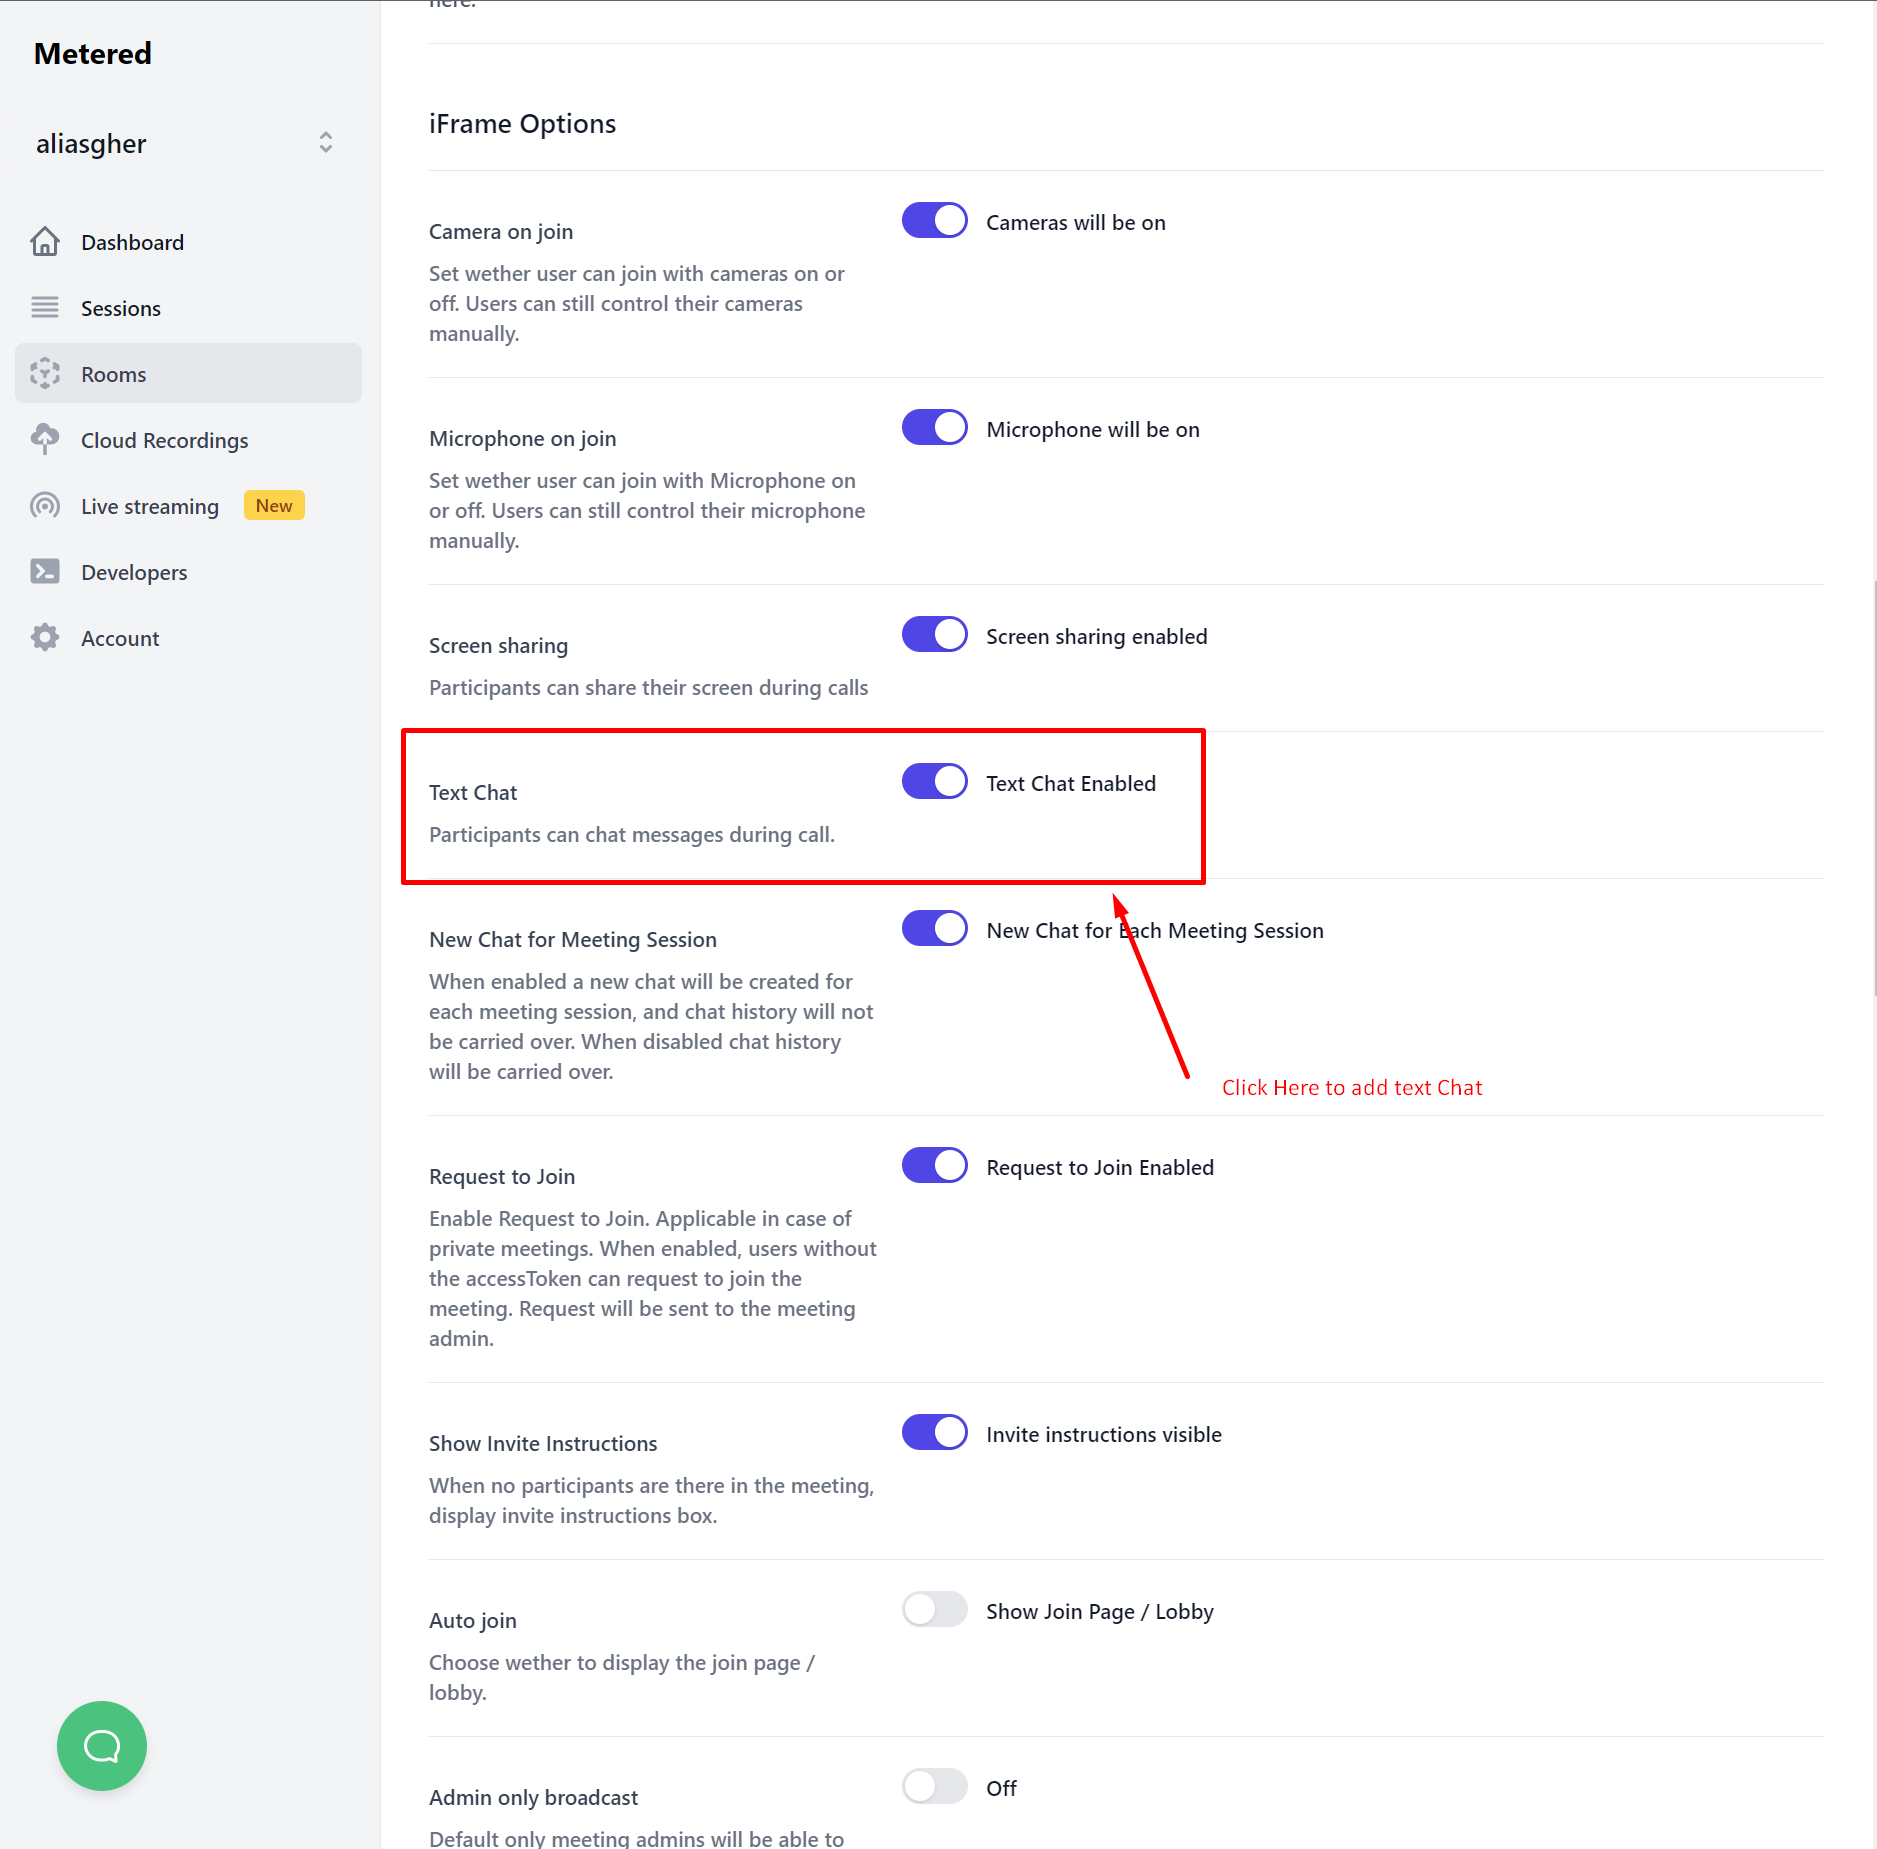
On the create room page you can customize the room to suit your needs. Here are some of the settings that you could do:
- Name the room
- Set the Room to be Public or Private
- Set the recording to be on or off (You can record the screen sharing)
- You can set composed recording (if multiple people are screen sharing you could create a single video file from them)
- Live Stream the Screen share in real time
- Add Chat next to Screen Sharing
- Add a Watermark on the Screen Share
These are some of the things that you could customize when creating a room. You could also edit the room after it has been created.
Step 3: Copy the embed code.
After you have created the room you will land up in the room summary section there you can see the embed information.
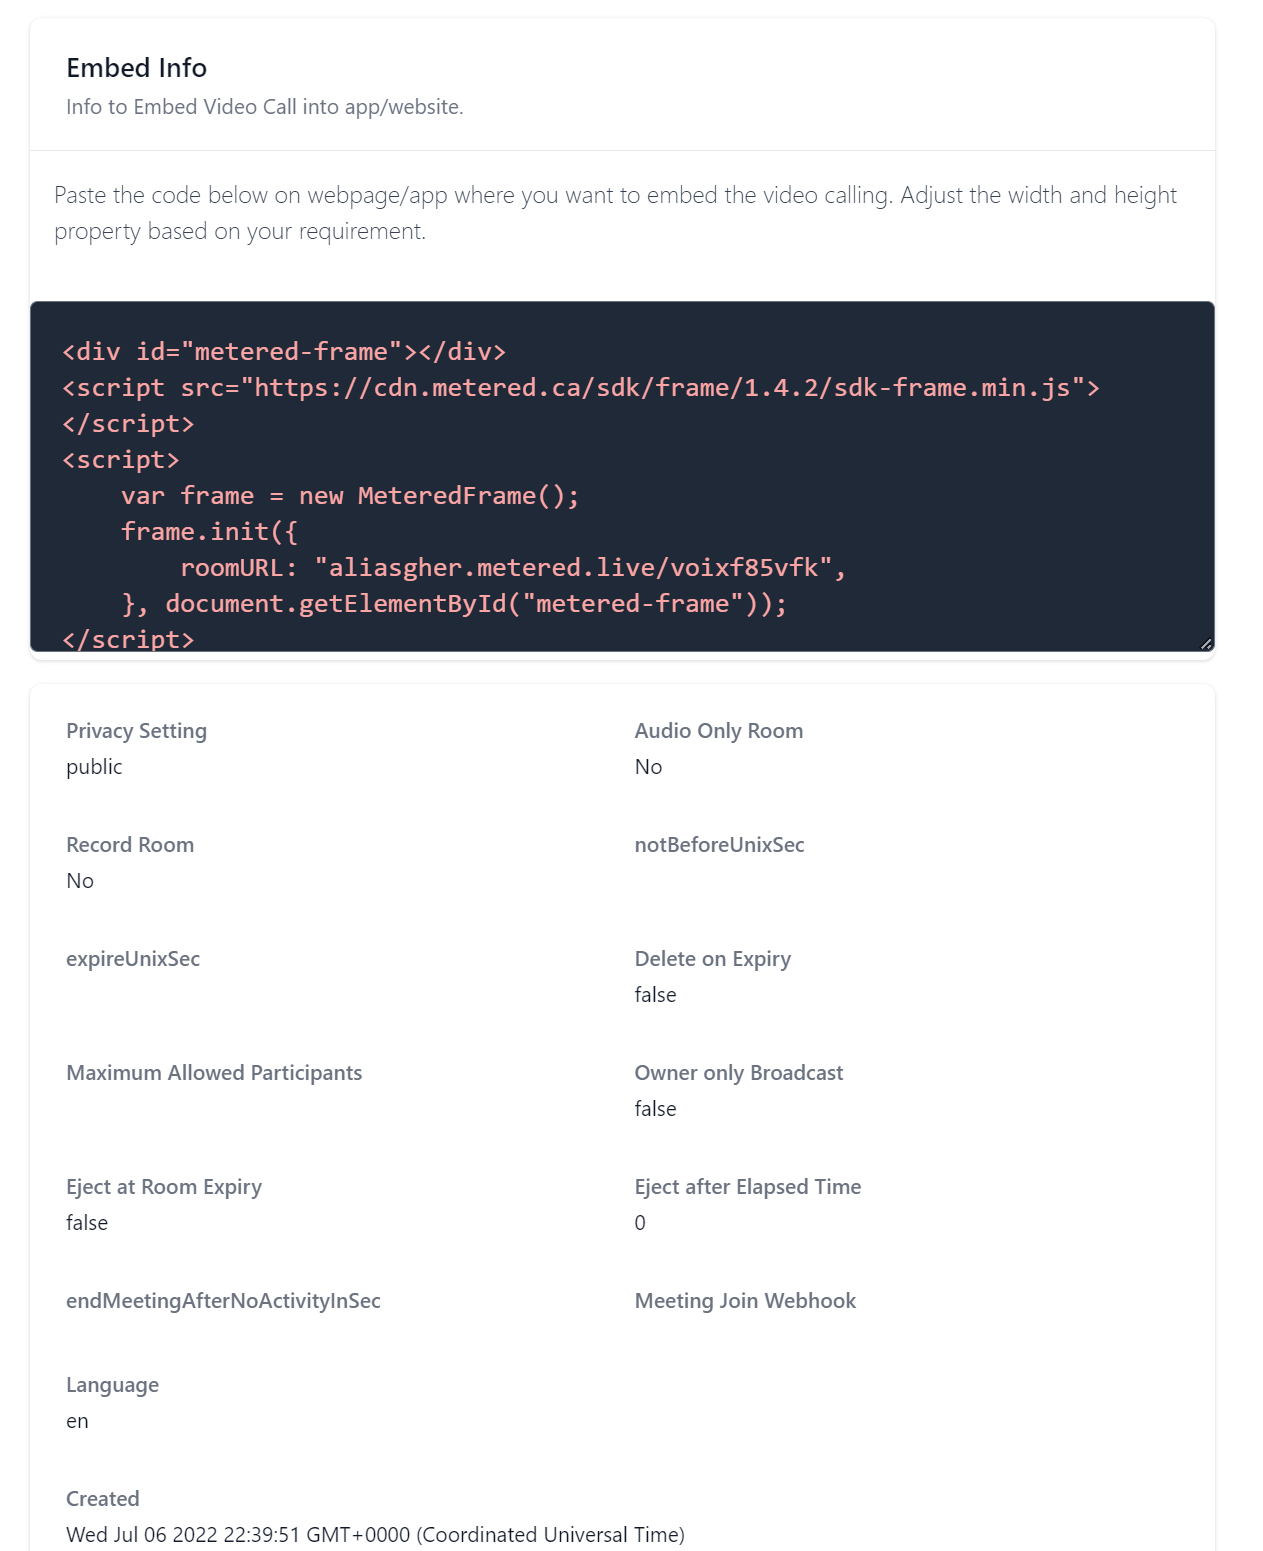
On the Embed Information page you can also see some of the settings that you have done for the screen sharing page.
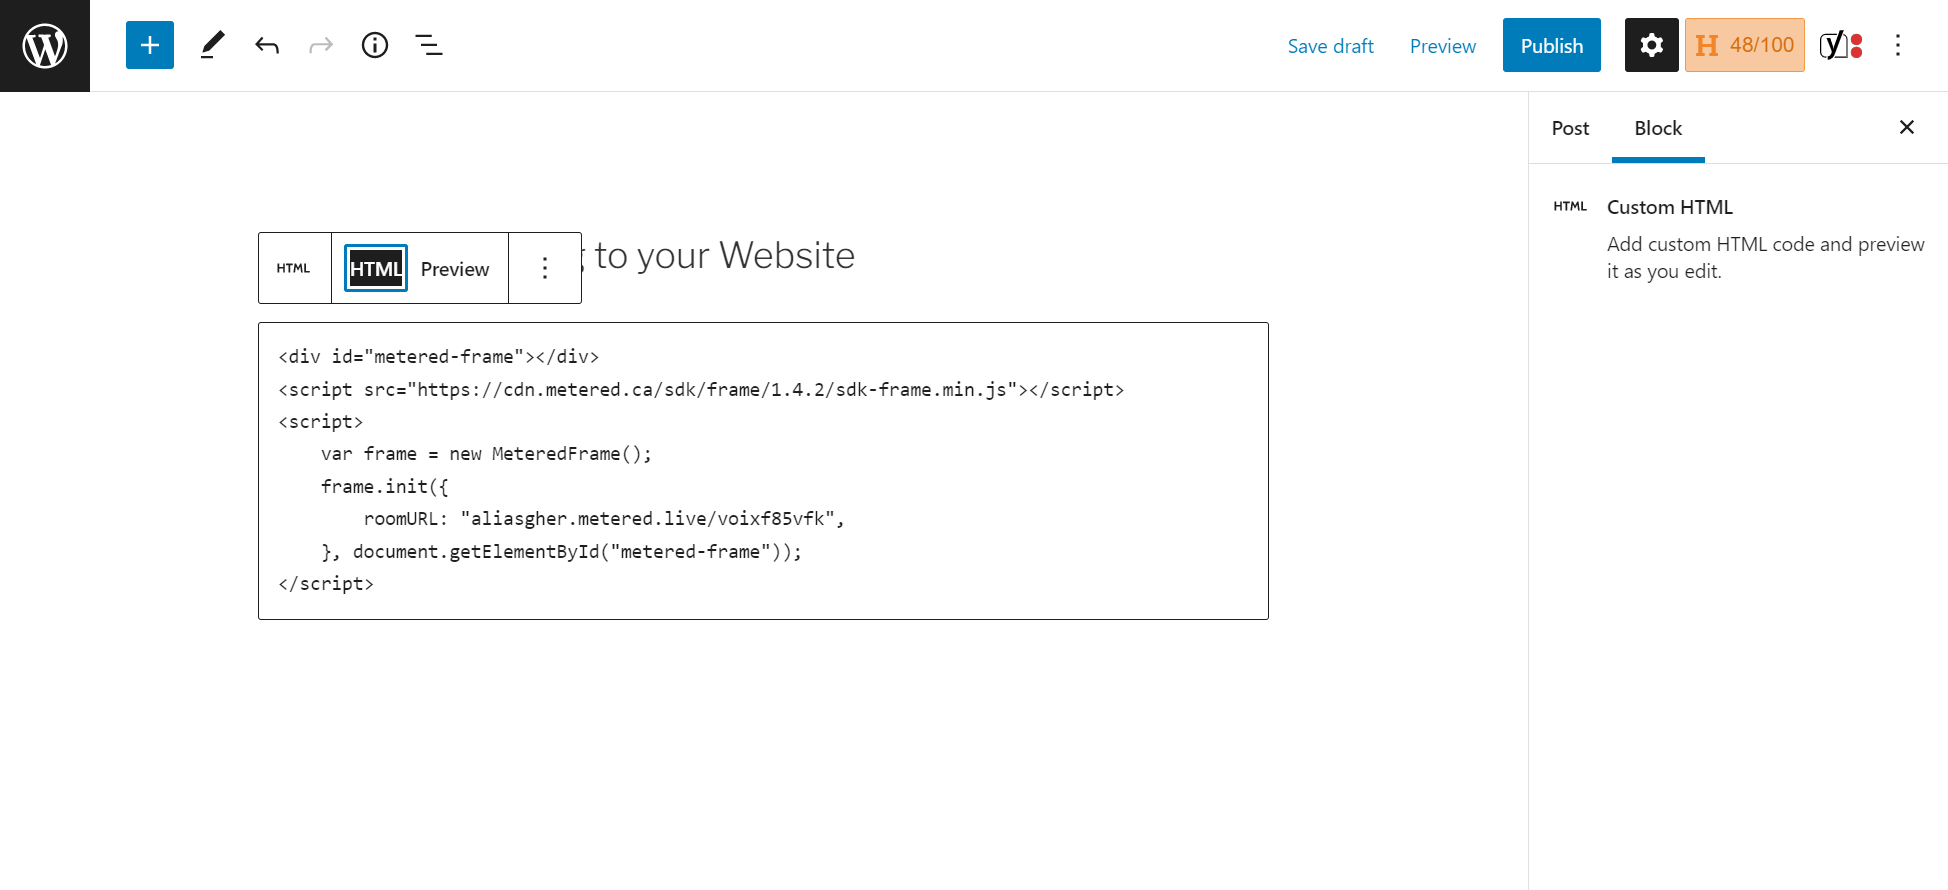
Step 4: Paste the code
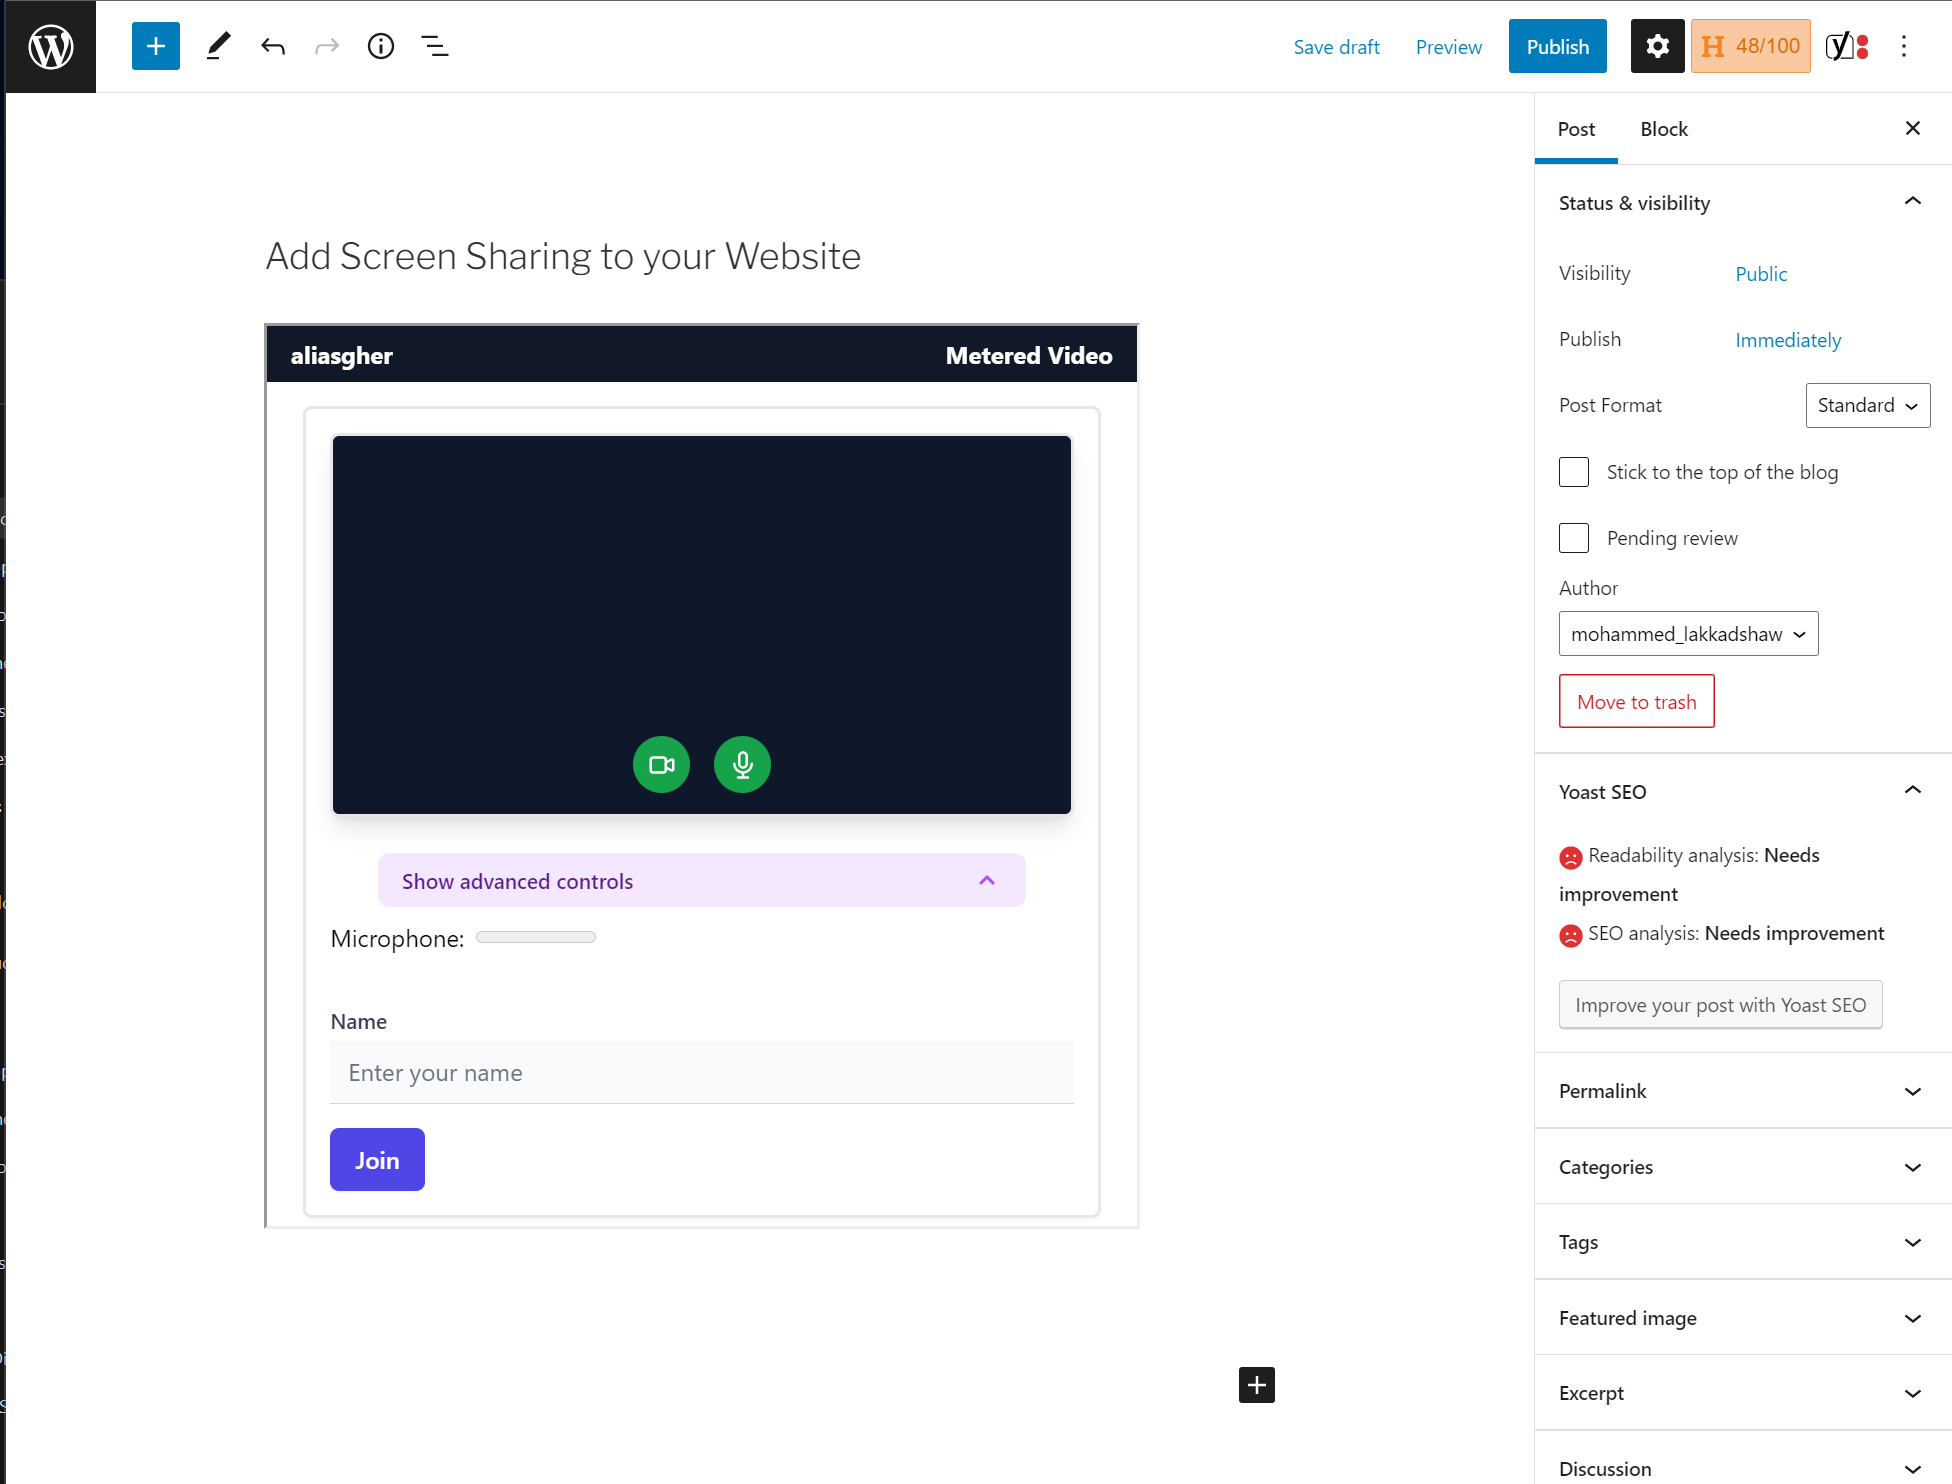
On your website or app where you want the video to appear simply paste the code. Where you put the div tag with the id=metered-frame the screen sharing window will appear.
You can adjust the size of the window by adjusting the size of the div tag by giving it width and height attributes.
and that's it. you have now added screen sharing to your website.
You can invite others to your screen share by sharing the invite link with participants.
Bonus: Add Screen Sharing to your WordPress website
You can easily add the Screen Sharing to your WordPress site as well.
It is the same as adding Screen Sharing to HTML website till **step3**
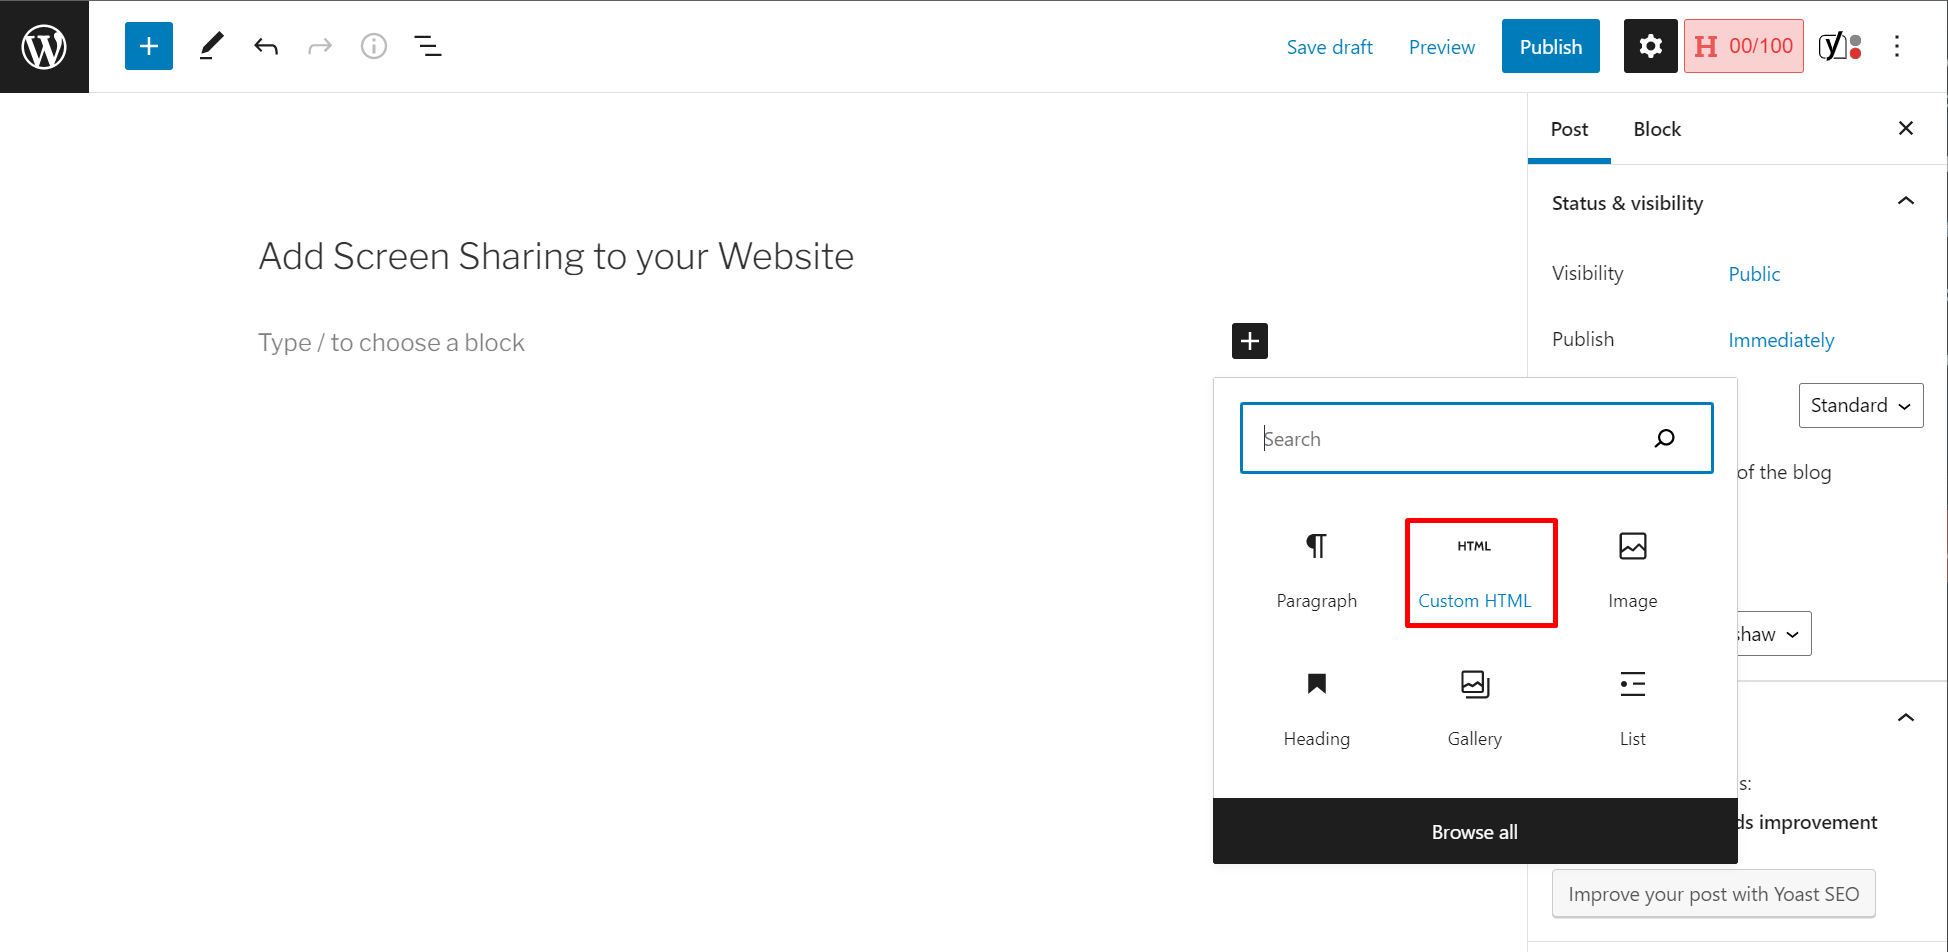
When you have copied the code go to your WordPress website and login.
After you have logged in to your WordPress site go to the page where you want to add the screen share.
There Click on the add custom HTML box as shown in the figure below:
Bonus: Add Screen Sharing to other CMS
Adding Screen Sharing to other CMS is similar to adding Screen Sharing to WordPress, you need to paste the code as custom HTML to the CMS platform
Bonus: Enable Recording
You can also enable recording in your screen sharing session. There are types of recording that you can do with Metered Video
- Separate streams for each user: Separate Audio and Video Streams will be recorded for each user in the meeting.
- Composed streams: A single Composed stream of Audio and Video will be recorded.
All the recordings are safely stored in the cloud from there you can download the recordings and delete the recording as well.
Bonus: Adding Chat with Screen Sharing
You can also add chat along with your Screen Sharing in your website. To add chat simply go to Dashboard -> Chat Rooms -> Select the chat room which you want to add chat to and click on the edit chat room button.
On the edit chat room page click on the add chat button to add chat along with your Screen Sharing.
Refer to the image below:
Bonus: Customizing and Advanced tools.
You can do advanced customization with the help of Metered Video API and tools.
There are two ways to go about this:
- Using APIs within the iframe
- Metered SDK
- Using APIs within the iframe
Metered iframe provides APIs to control all aspects of the video chat and Screen Sharing
You can start the screen share, record the meeting and take control of other participants camera mic controls via the APIs
2. Metered SDK
For a completely custom experience you can also consider using Metered Video SDK
You can completely build the User Interface from scratch and have the screen sharing exactly as you want in your website or app.
Conclusion
In this article I have explained how you can add screen sharing on your website or app.
Add screen sharing is a simple matter of choosing a provider, we recommend Metered Video.
Using Metered Video it is simply a matter of pasting the iframe code in your website or app to add screen sharing.