
Introduction
In this article I am going to explain how to add video chat in your WordPress website.
WordPress is an awesome CMS and the most famous one in the world. According to WordPress.com 43% of the web runs on WordPress.
With a whole host of plugins and customizations available for WordPress you cannot go wrong with it.
Video chat is an awesome tool to have on your website. Whether to increase conversion or engagement, building relationships with your customers and audiences. There is simply no better tool than video.
Prerequisites:
- WordPress Admin Access
- A Video Chat Provider
Adding Video Chat to WordPress
You can add Video Chat to WordPress by following these steps:
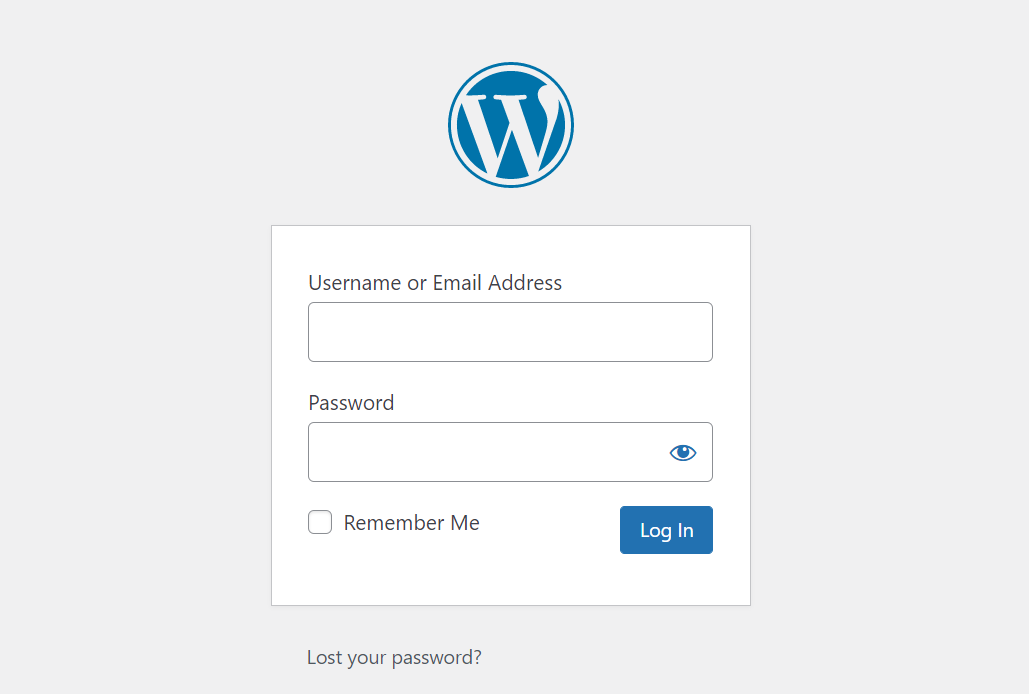
Step 1: Login to your WordPress account.
Login to your WordPress website and go to the page where you want to add the video chat.
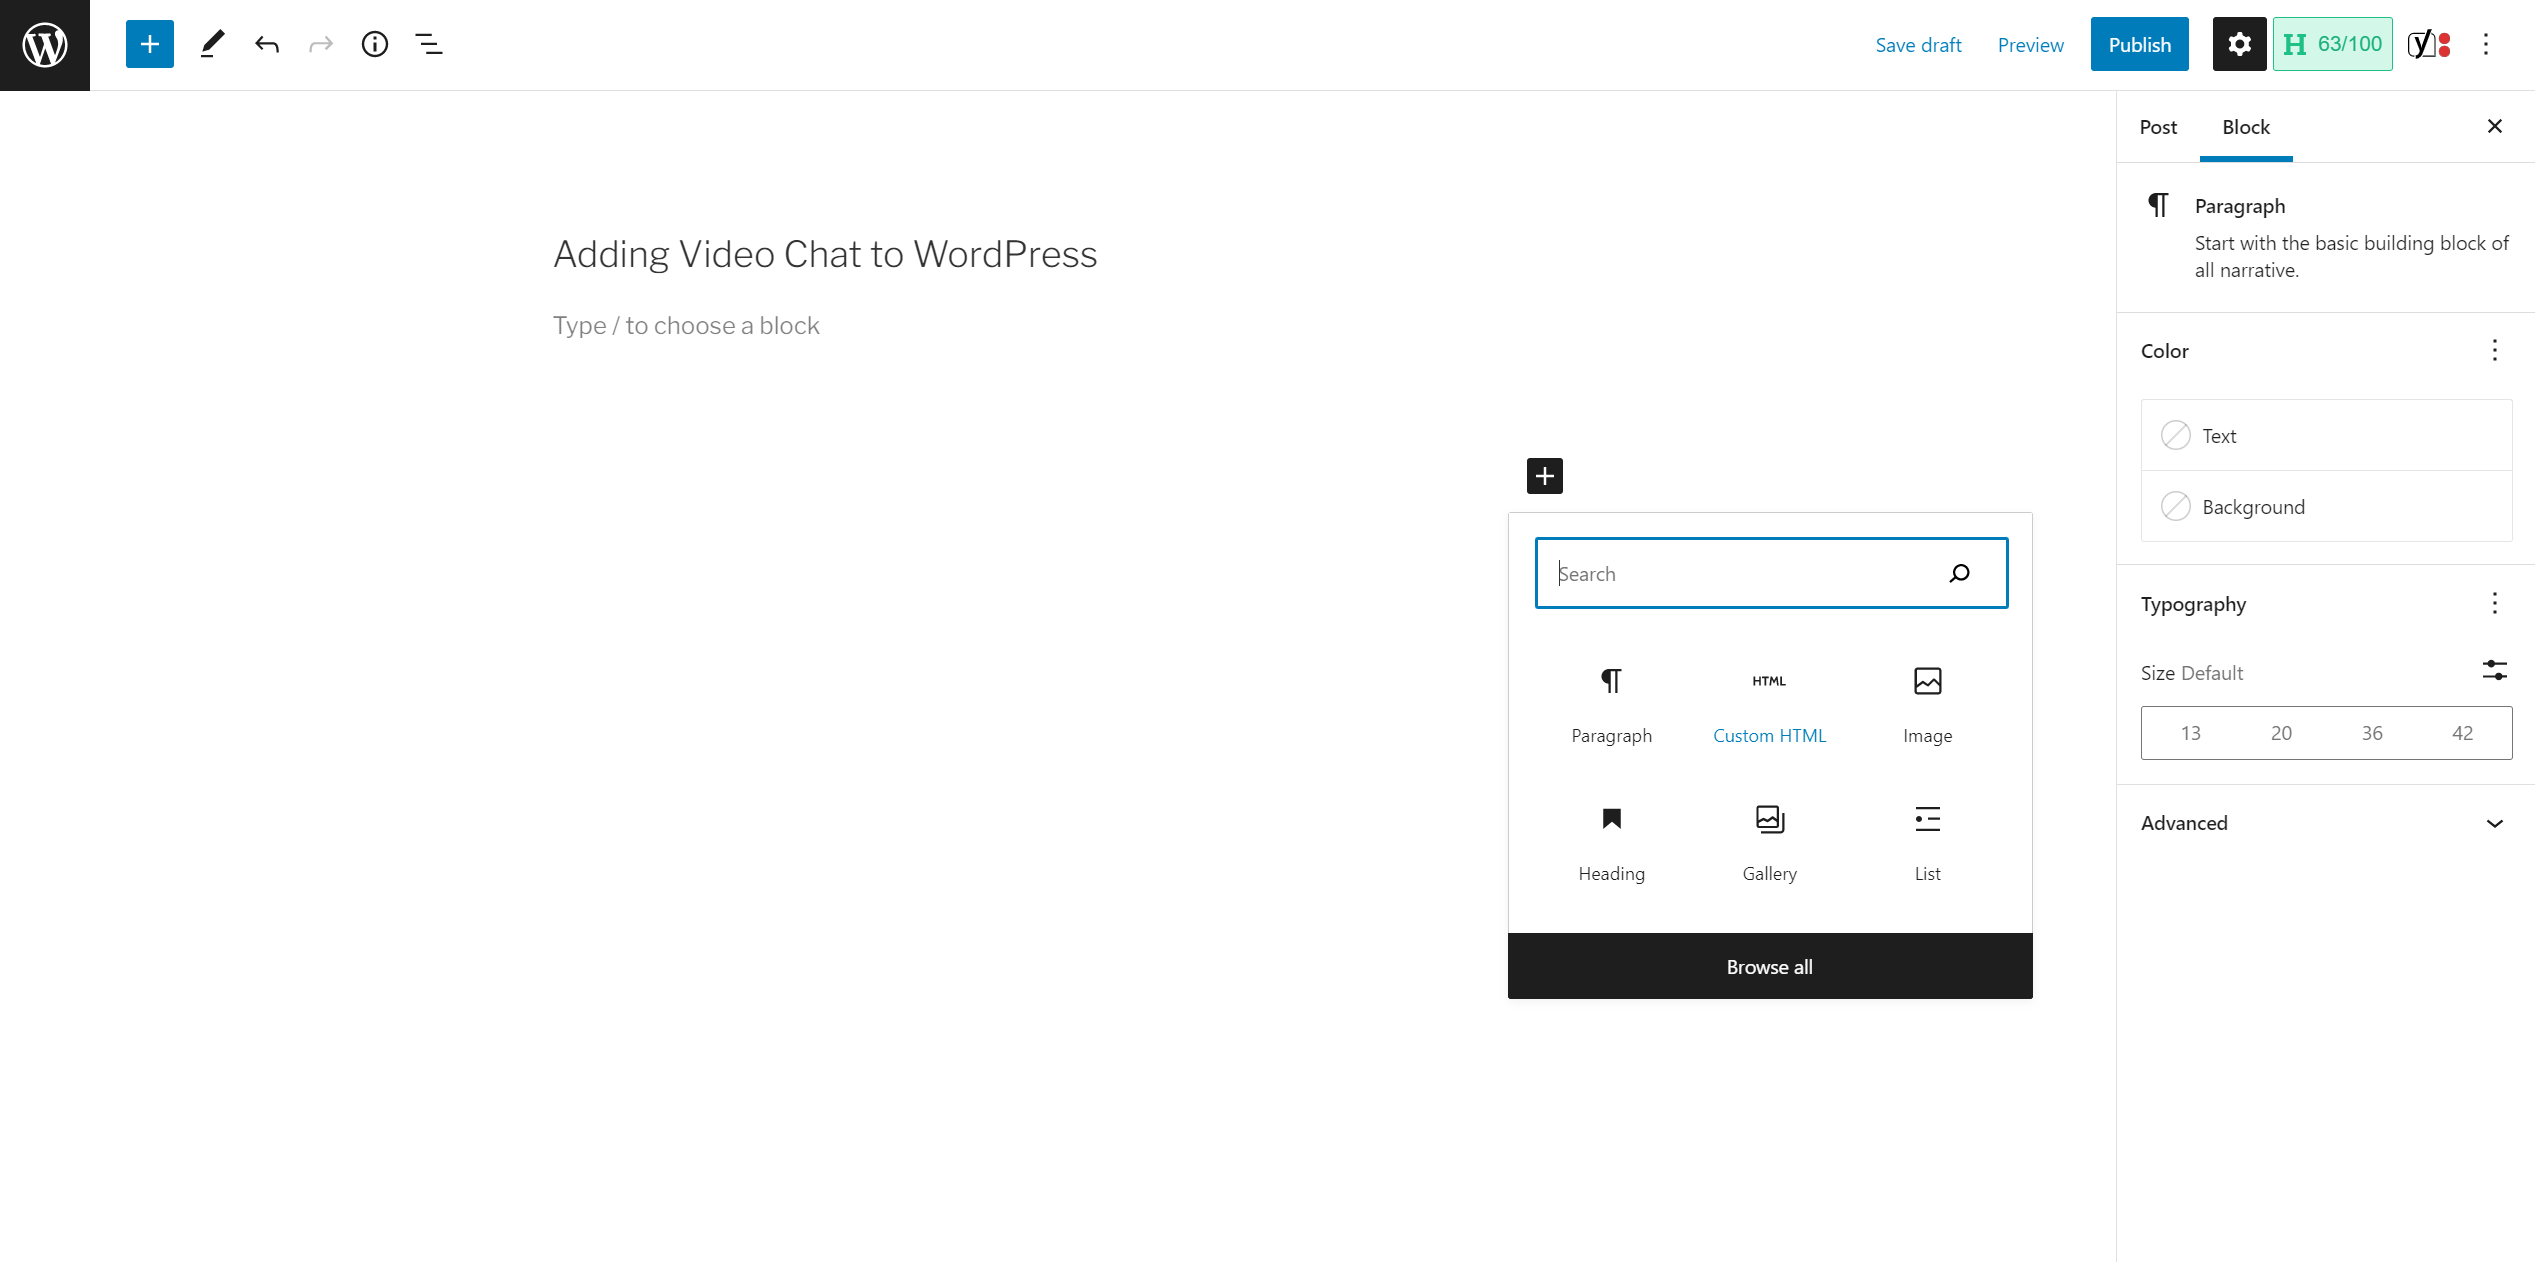
Step 2: Add a Custom HTML Block
Once you are on the page go to the place where you want to add the Video Chat.
click on the add block button and search for a Custom HTML Block
In the Custom HTML block we will paste the code to add video chat to the WordPress website, more on this later
First, we need a video chat provider. We recommend going with Metered Video Chat.
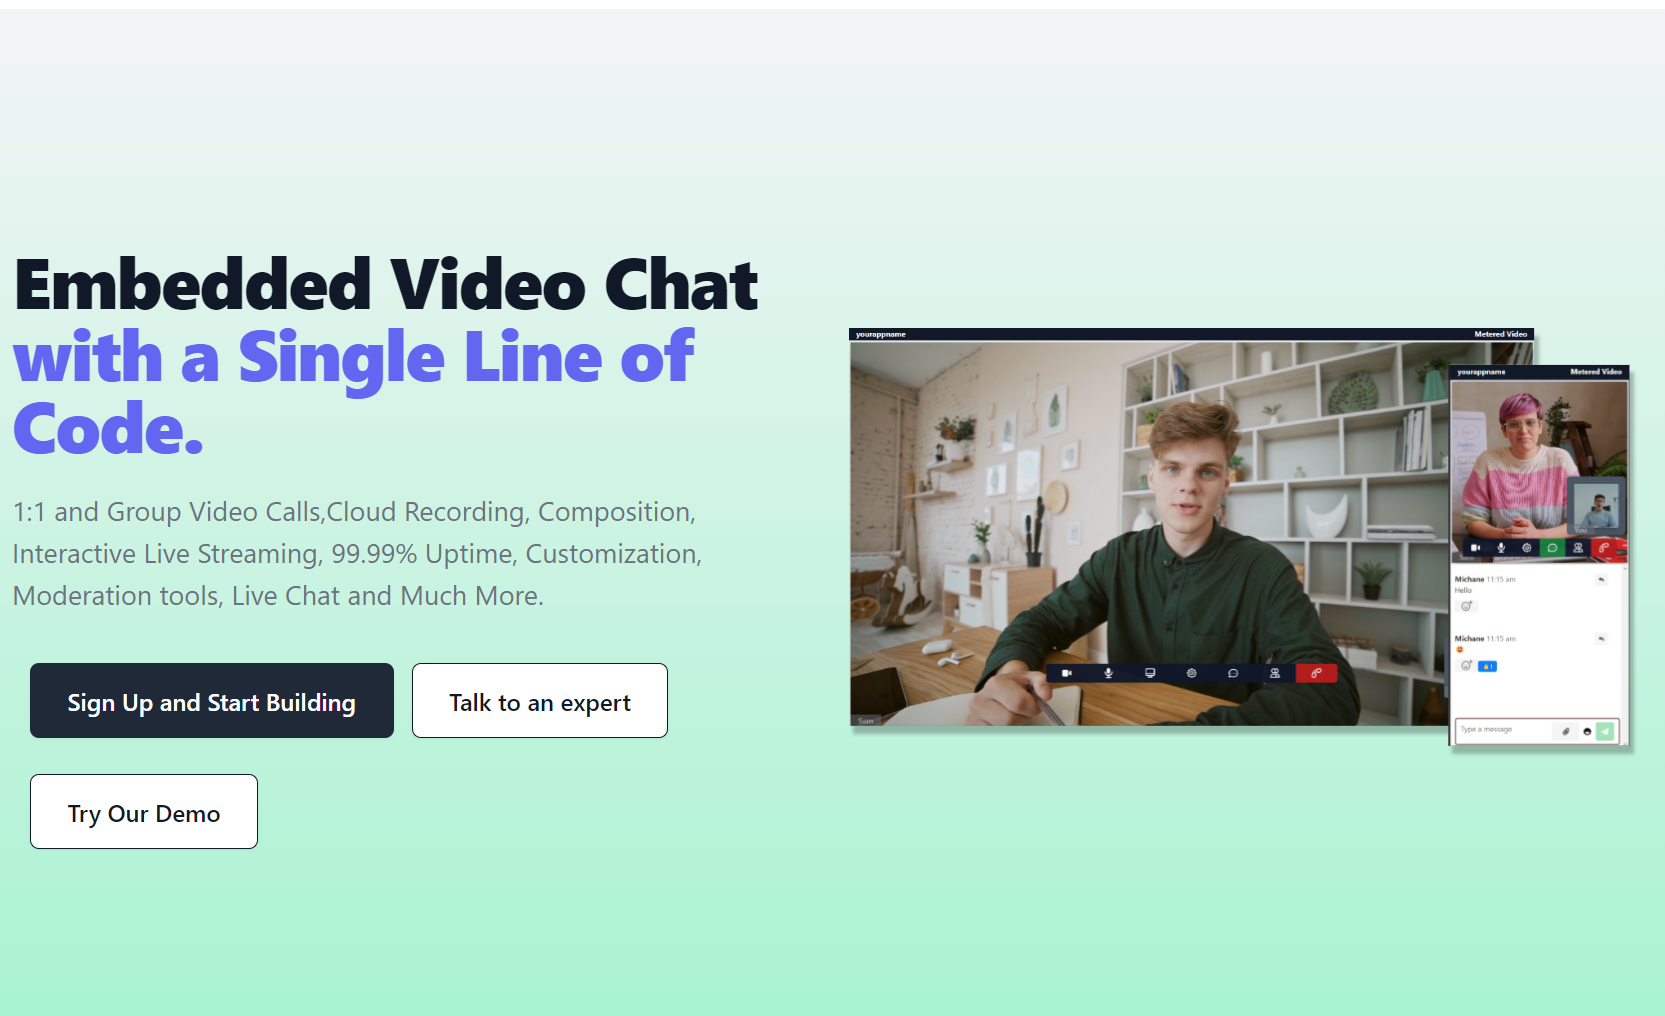
Step 3: Create a Metered Video Account
To create a Metered Video Account go to the Metered Video page here.
Click on the Get Started button to create a free account.
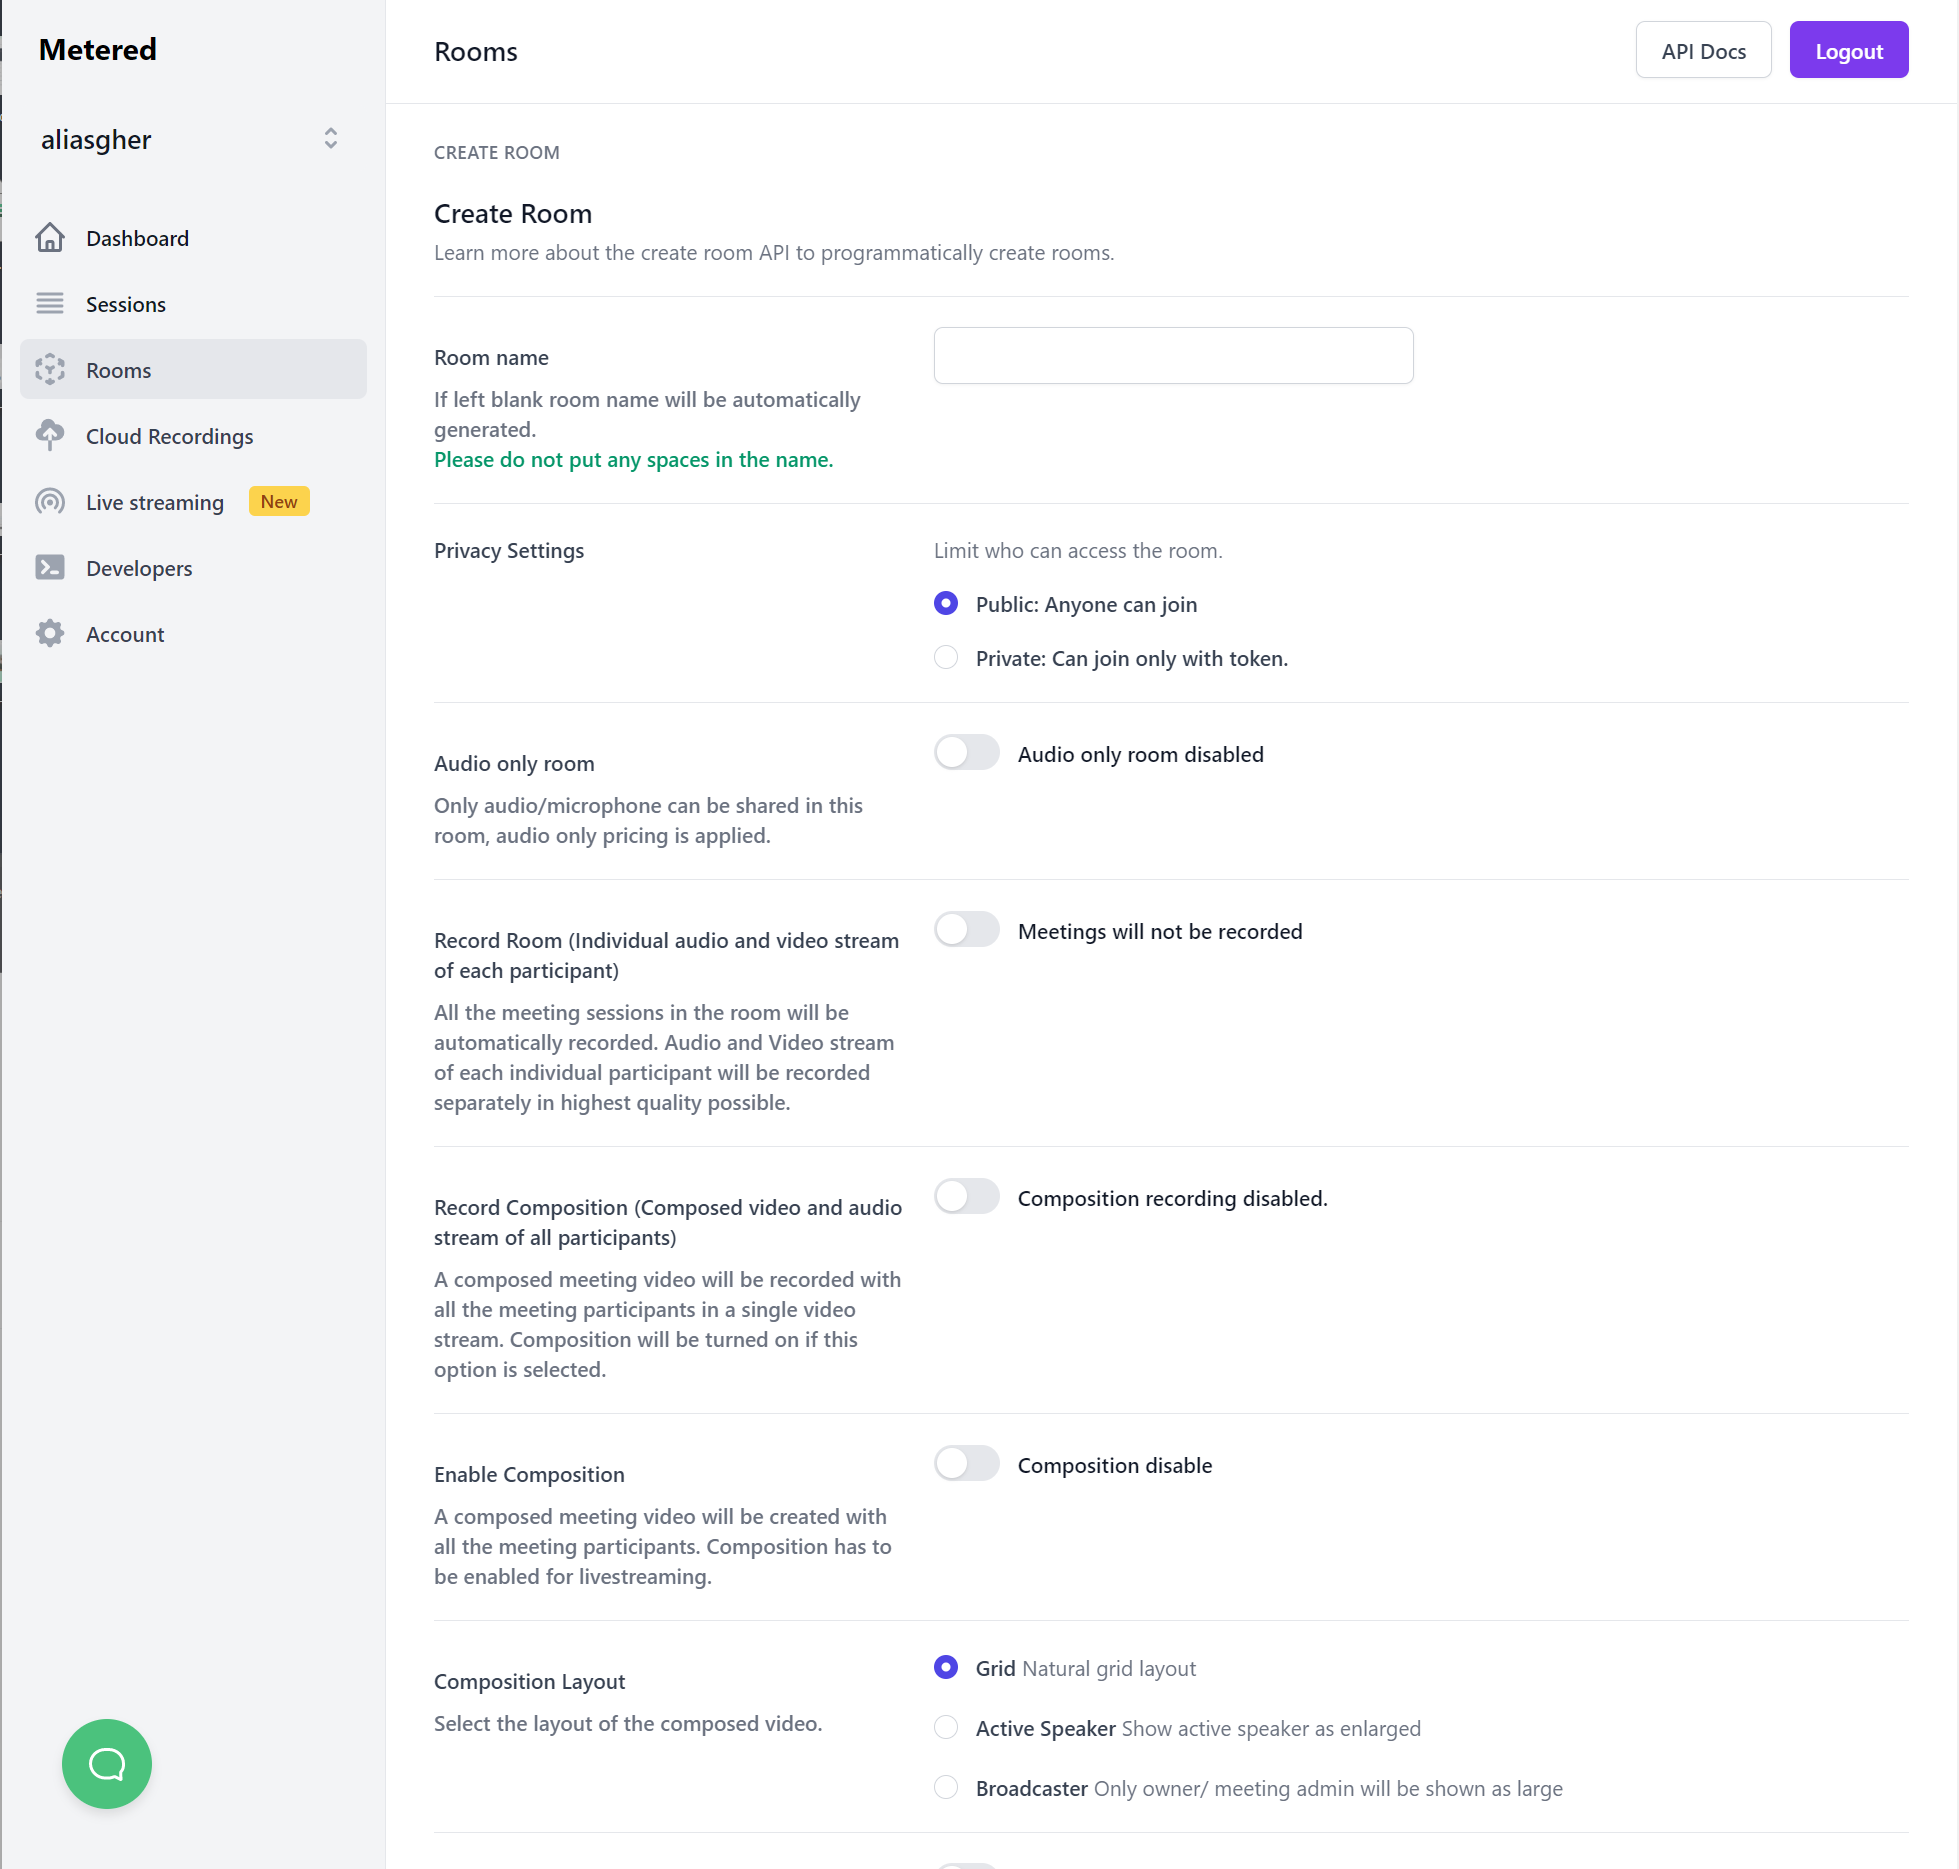
Step 4: Create a room
Once you have created an account on the Dashboard click on the create room to button to create a room.
There are various settings that you can do here to customize the room to your liking
some of them are
- Create a personalized URL
- Up to 10,000 participants video chat
- Live Chat with file and Image Sharing
- Cloud Recordings
- Moderation Features
- Customizations
- Privacy Settings
- Create Public Rooms
- Create Private Rooms
- Record Streams
Moderation Video Chat Features
- Camera on Join
- Microphone on Join
- Screen Sharing
- Text Chat
- New Chat for Meeting Session
- Request to Join
- Show Invite Instructions
- Auto Join
- Admin Only Broadcast
- Add Watermark to your Video
and many more you can explore on the create room / edit room dashboard.
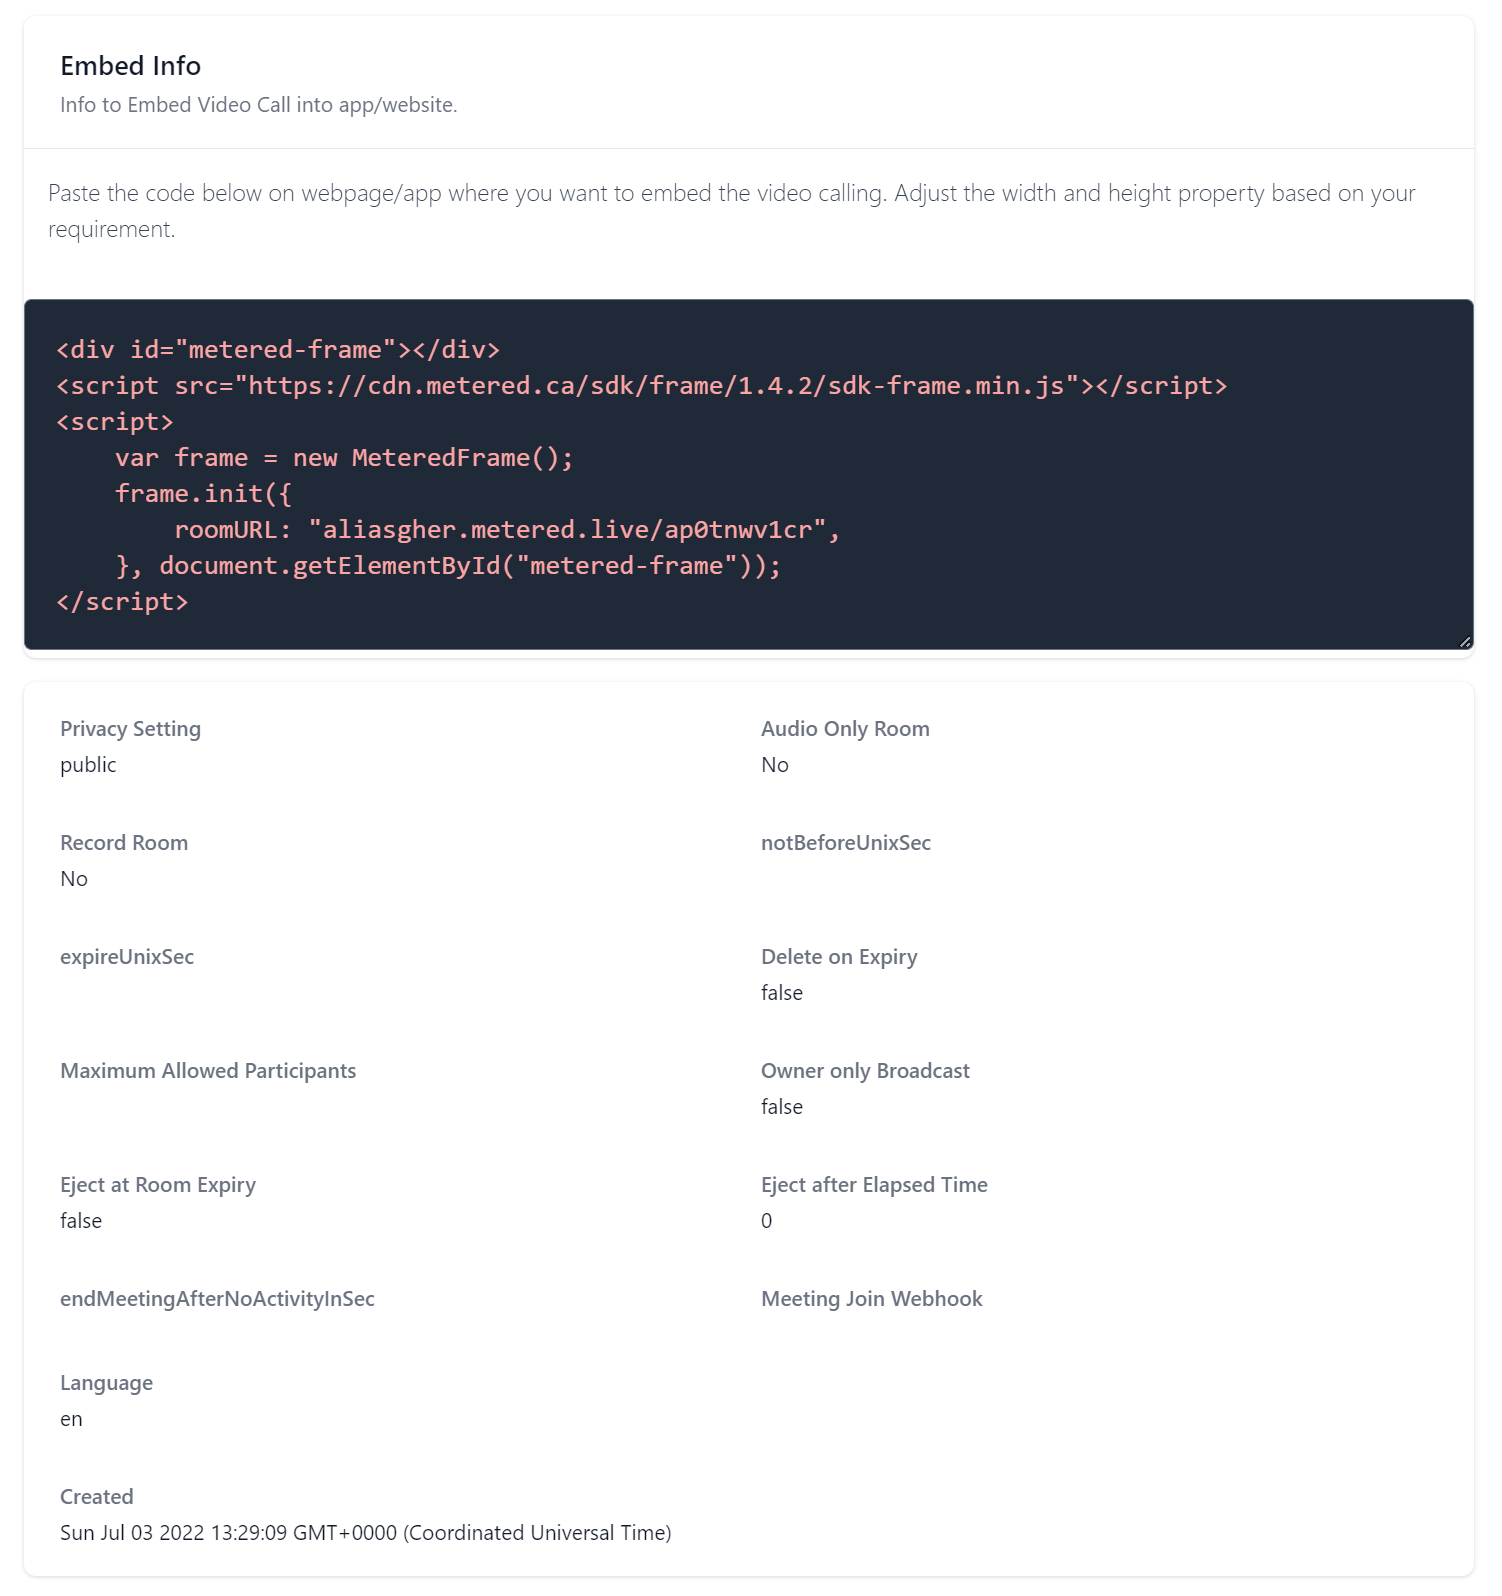
Step 5: Copy the Code
After you have created the video room you can see the embed code on the next page.
Copy the code, we will need to paste this code in our WordPress site to add video chat to your website
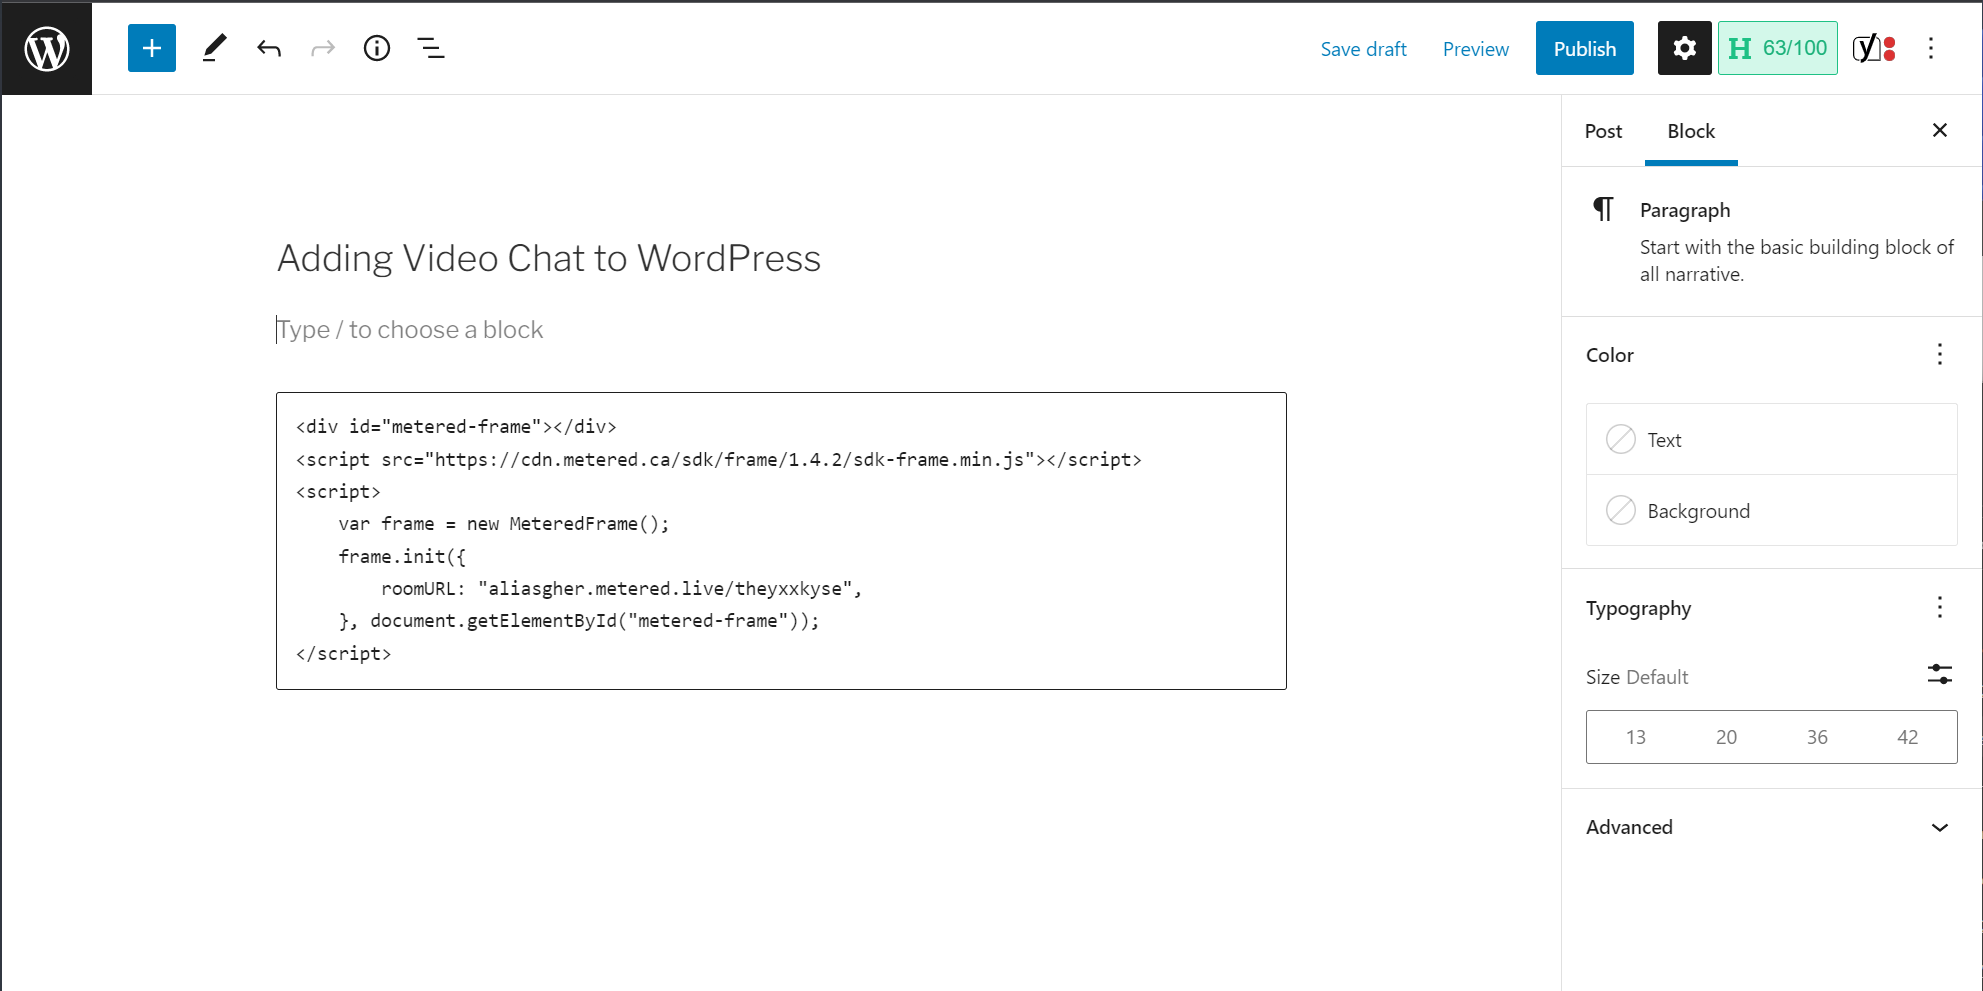
Step 6: Paste the code in the custom HTML block in WordPress
On the WordPress website we created a custom HTML block where we needed the video chat to appear.
In the custom HTML code block paste the embed code and save. Now you have created a Video Chat on your WordPress website.
Step 7: You have added the Video Chat to your WordPress site.
Now you have added the Video Chat in your WordPress site. You can customize the video experience including colors and font, functionality, recording as much as you like
for more on this keep reading
Group Video Chat to WordPress
You can adjust the settings to allow for group video calls. With Metered Video you can create group video calls with up to 10,0o0 participants
When creating a video chat room simple leave blank the Maximum participants settings or set it to the max number of participants that you expect in your meeting.
The video chat that you have added to your WordPress now becomes a group video chat.
1-1 Video Chat on WordPress
You can adjust the settings to make the Video Chat on your WordPress 1-1 only.
When creating a room in Metered Video set the Maximum participant setting to 2.
Now, there can be only 1-1 video meeting in that room. If in the future you want to set the 1-1 setting to a group video, you can easily leave blank the maximum participant setting or set a number for the participants of the group video
Customizing the Video Chat in WordPress
You can easily customize the video chat including the size of the video and how it looks in your website.
- Size of the video Chat
- Setting Custom Room Name
- Setting the Video Chat Public or Private
- Set Camera join
- Microphone on join
- Screen Sharing
- Text Chat
- New chat for Meeting Session
- Request to join
- Show invite instructions
- Auto Join
- Admin only broadcast
- Watermark on Video
- Maximum Participants
- Meeting Join Webhook
- Meeting left Webhook
- Meeting ended Webhook
- end Meeting after no activity in seconds
- eject after
- not before unix sec (NOT before)
- expire Unix Sec (Expires)
- eject on expire unix sec
1. Size of the chat
To adjust the size of the video iframe simply adjust the size of the ```div``` tag with the id metered-frame
The size and shape of the div that determines the size of the video chat.
2. Setting the custom room name.
Go to Dashboard -> Rooms -> edit room / create room
There you can see the Room name. If the room name is left blank then it automatically generates the room name or you can specify a custom room name here
When creating a custom room name remember to not place any spaces in the room name.
3. Setting the Video Chat Public or Private
You can set the Video chat as Public: Anyone can join the room. When setting the room as public a good idea would be to set Request to join to be true so that people must request to join your video call.
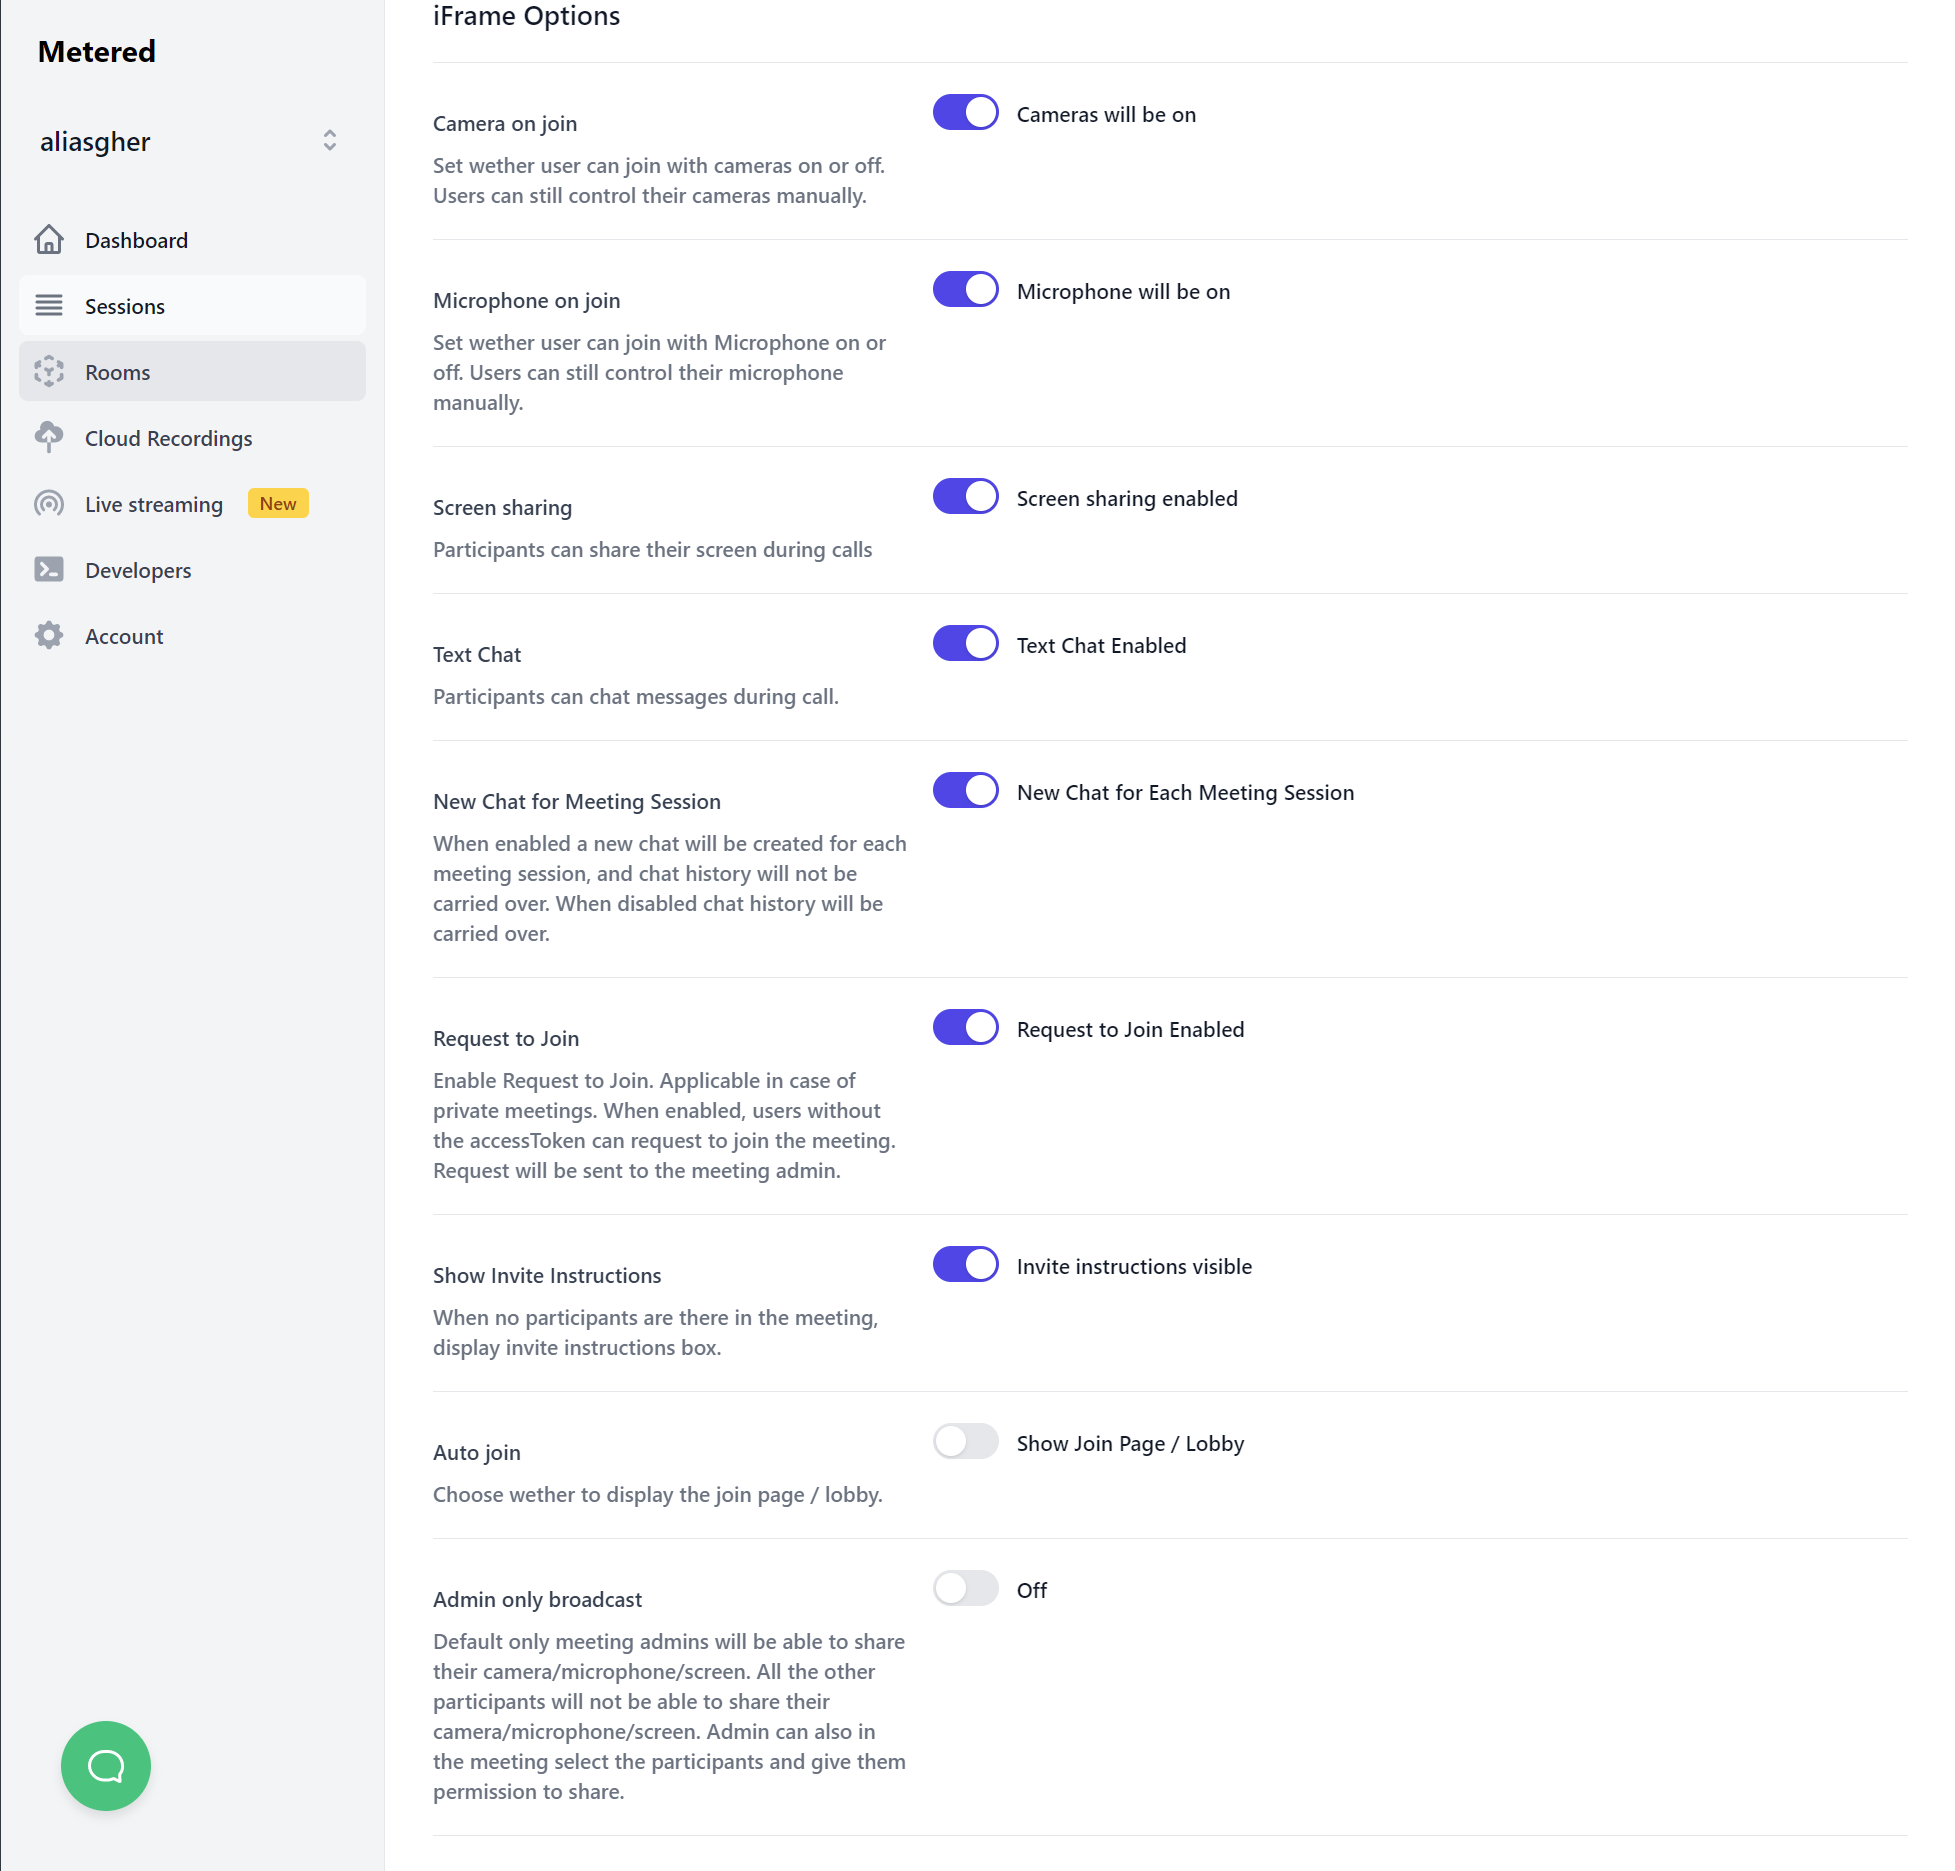
4. Set Camera join
You can set the setting such that the meeting participants join with their camera as on.
5.Microphone on join
You can set the setting such that the meeting participants join with their microphone as on.
6. Screen Sharing
You can set to allow the participants to be able to share screen. You can also switch this setting to off so that the participants cannot share their screens
7. Text Chat
You can also add Text chat along with the video calls. Text chat also comes with the ability to send files and images in the chat.
8. New Chat for Meeting Session
You can set so that you have a new chat session for a new meeting. or you can have it so the chat history is carried over to the next meeting.
9. Request to join
You can enable the request to join. When a new participants wants to join the meeting they will have to request to join and the admin must allow them to join the meeting
Admin can deny any the participant as well.
10. Show invite instructions
You can show the invite instructions in the room and participants can invite other people in the video room if the video is public.
Or you can choose to hide the invite instructions.
11. Auto join / Show Lobby
You can choose to show the lobby or hide the lobby and directly add the participant in the meeting
12. Admin Only Broadcast
When enabled only admin will be able to share camera, screen and microphone. All the other participants will not
13. Watermark
You can upload a watermark on your video call. If you are recording the video you can also see the watermark on your recorded file.
You can set the height and width of the watermark as well as the position of the watermark on the video
The position can be set as on the X axis and Y axis for a custom position
default positions include TOP LEFT, TOP RIGHT, BOTTOM LEFT, BOTTOM RIGHT
14. Maximum participants
You can set the maximum participants allowed in the meeting.
15. Webhooks
You can set webhooks for when some one joins the meeting, leaves the meeting, when the meeting starts, when the meeting ends.
You can even set different end point for each of these webhooks.
16. end Meeting after no activity.
You can set to end meeting after no activity. You can set the time in seconds after which the meeting will end automatically
For example you can set the meeting to end after no activity for 7200 seconds. If there is no activity for 7200 seconds than the meeting will end automatically.
17. Eject After:
Automatically eject all the participants after a certain amount of time. You can specify the amount of time after which the participants would be ejected.
18. Not before Unix Sec (Not before):
You can set the time and date before which the participants cannot join the meeting.
19. Expire Unix Sec (expires)
You can set the time and date after which the participants cannot join the meeting.
Recording Video Chat in WordPress (Optional)
You can record the meeting in the cloud as well and download them when needed. To set the recording go to Dashboard -> Create Room / Edit Room
and then enable Record Room (individual streams for audio and video will be recorded separately)
You can also record a composite stream where you get a single stream with audio and video combined.
If you are recording a composite video you can choose from a set of options like
- Grid
- Active Speaker and
- Broadcaster
You can also stream the meeting using Metered Live Stream or by using RTMP out to stream using third party providers like YouTube and Facebook Live.
Downloading the recorded videos
You can easily download the recorded video using
- Dashboard
- Through API
- Dashboard
Go to Dashboard-> Cloud Recordings
here you can see a list of recordings and you can download the recordings also delete the recording if you want to
2. Using API
You can use the api to download the recording. Here is the API documentation.
Conclusion
In this article I explained how we can add video chat and video meeting to your WordPress site.
Adding video chat with Metered Video is a as easy as adding an YouTube Video. Just add the iframe code to your WordPress site to add video chat to your WordPress site.